Our house was first built as a log cabin in 1890, then extended in the 1950s, and again extended and completely renovated in 2000. It’s well insulated, and has no drafts — it seems to be relatively airtight.
Great for keeping the heat in, not so great for the air quality. Add the fact that we didn’t have a single fresh air vent, only those tiny trickle vents above the windows. What you are left with is a house with bad air quality.
So we installed a balanced ventilation system 🙂
Table of contents
I’m only looking at CO₂ here to determined the air quality. There are other factors; such as VOCs, radon, fungi, viruses, humidity, and more.
It’s an established benchmark test for indoor air quality to measure the CO₂ levels, as it gives a goods indication of “air freshness”. And fresh air will also reduce all the factors listed above.
Before
We’ve had a Netatmo air quality sensor on the 2nd floor for about a year, and recently installed one in the 1st floor living room as well. We noticed that we had CO₂ build up in the afternoon and evenings, and during the night. Except in the summer months, when windows on the 2nd floor are pretty much always open.
My wife and I also noticed the air was especially bad in the twins’ room, it felt hot and stuffy when we woke them up in the morning. But keeping the window open through the night would make the room too cold.
Another sign of lack of air was our fireplace windows, they kept turning black — over-production of soot is a sign of lack of oxygen. We solved this by keeping a window slightly open, but that made the floor cold. 😕
Fixing it
So we called a HVAC guy, with the intention of installing fresh air vents in all rooms. We had heard of some reversible vents, with ceramic heat exchangers that could recover the heat while keeping the air fresh.
He didn’t recommend them, on the basis that to be effective; they needed to run at high speed, making them noisy and annoying — especially in bedrooms.
Instead he asked if we had considered a balanced ventilation system, since we had room for it in the attic. We got a quote, and I spent many days, googling and reading up on ventilation and balanced ventilation systems.
I had so many questions; I emailed and called the poor HVAC guy a couple dozen times. He was patient, answered all of my questions, and gave some recommendations 🙂
We agreed on:
- Domekt R 400 H C6M unit (463 m³/h)
- Air supply
- Kids’ room 1
- Kids’ room 2
- 2nd floor den
- Master bedroom
- 1st floor living room
- Exhaust air
- 2nd floor hallway
- Bathroom
- All vents with noise traps
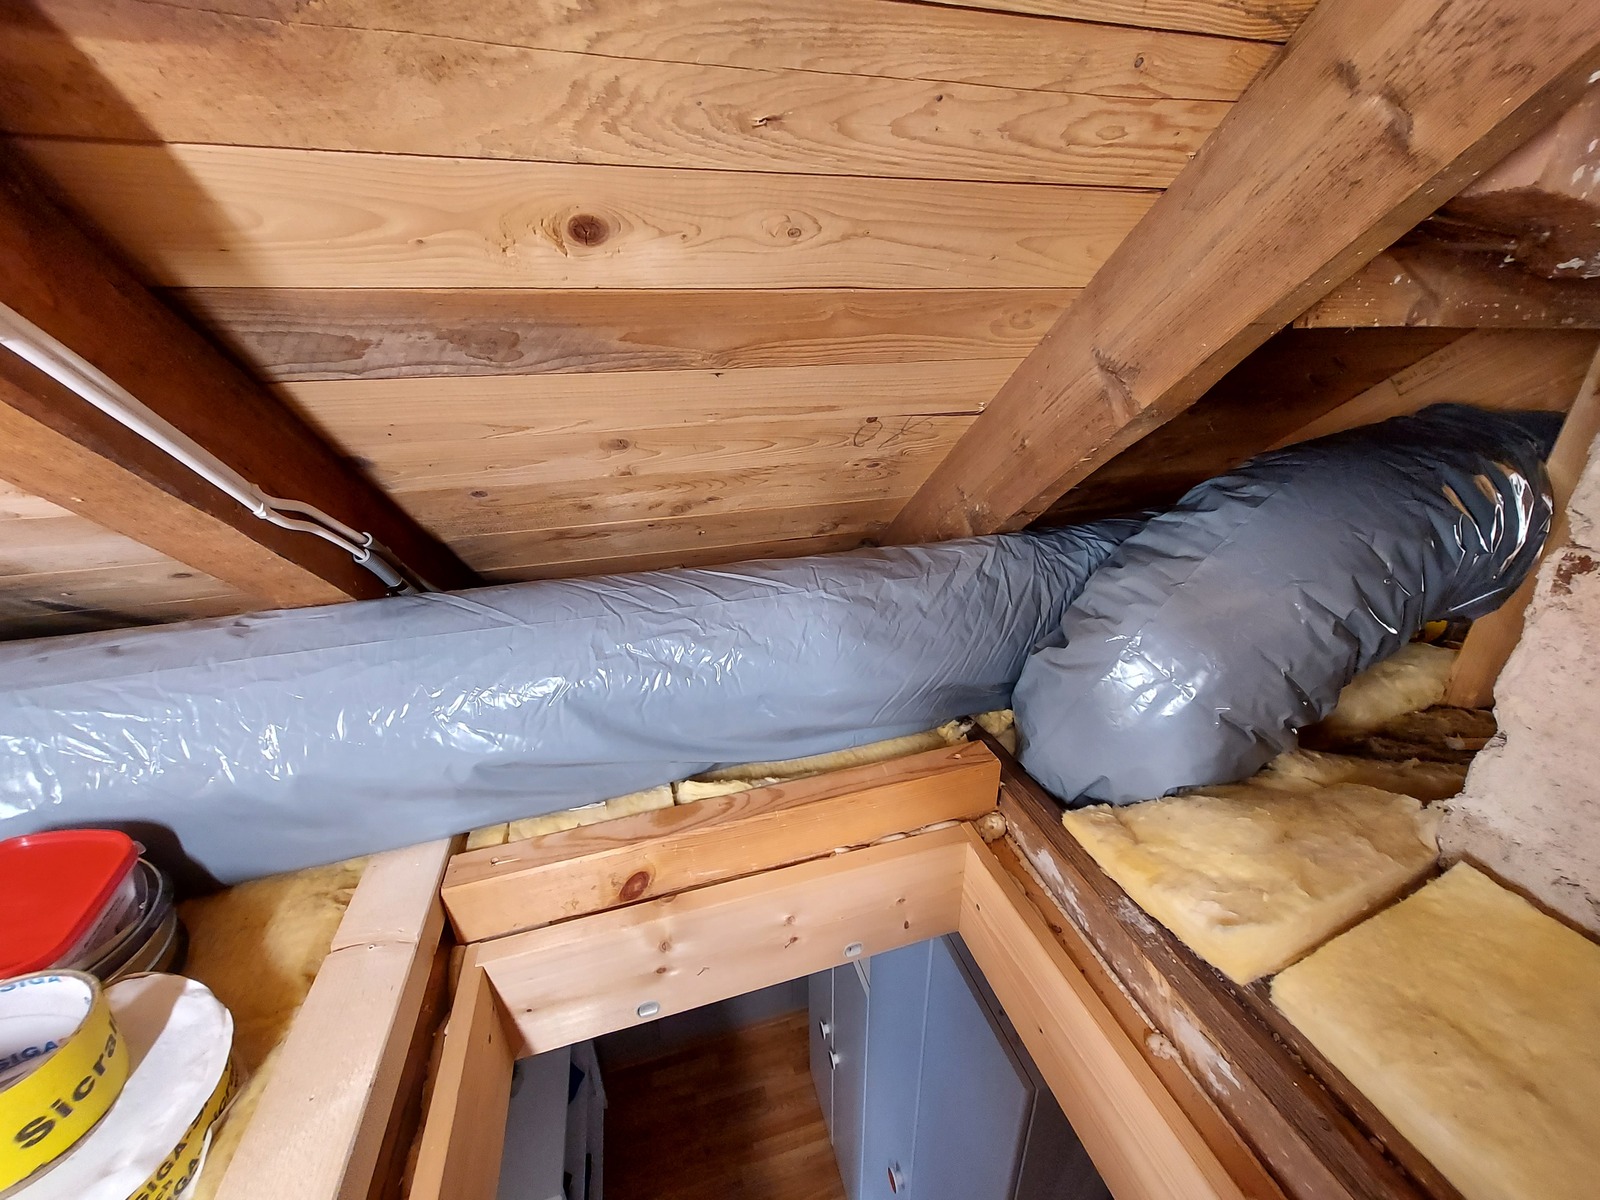
- All ducts with insulation
The unit we agreed on uses the C6 control system, which is pretty advanced; with things like Modbus TCP/IP 👍
Preparations

We had a spare fuse in the 2nd floor distribution board, and got an electrician to run a new circuit to the attic. This will be handy for my attic network rack as well 🙂

To make it easier for the HVAC installers, and my future self; I installed more lights in the attic.
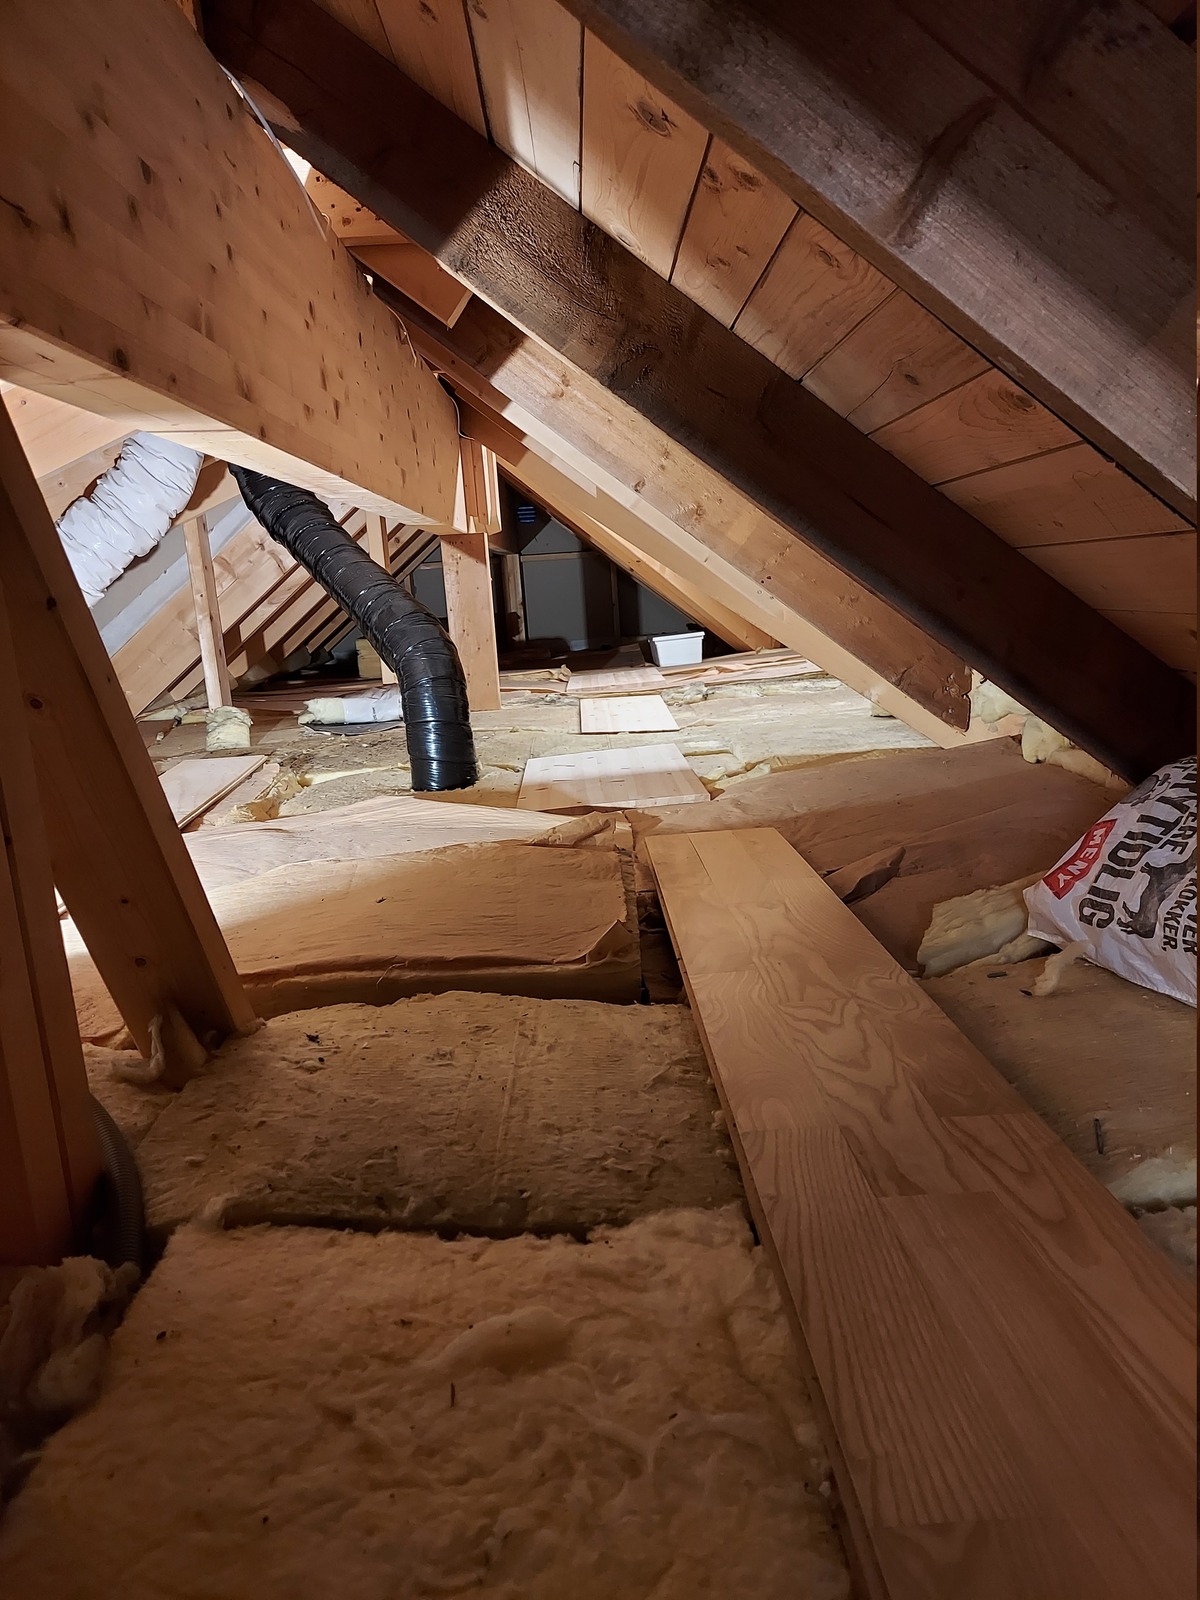
I also laid out some boards and planks to make it easier to move around up there.
One big question arose… Would the unit fit between the chimney and the rafters? We already knew it was possible to get it up the attic hatch, but it would be a tight squeeze getting it past the chimney.

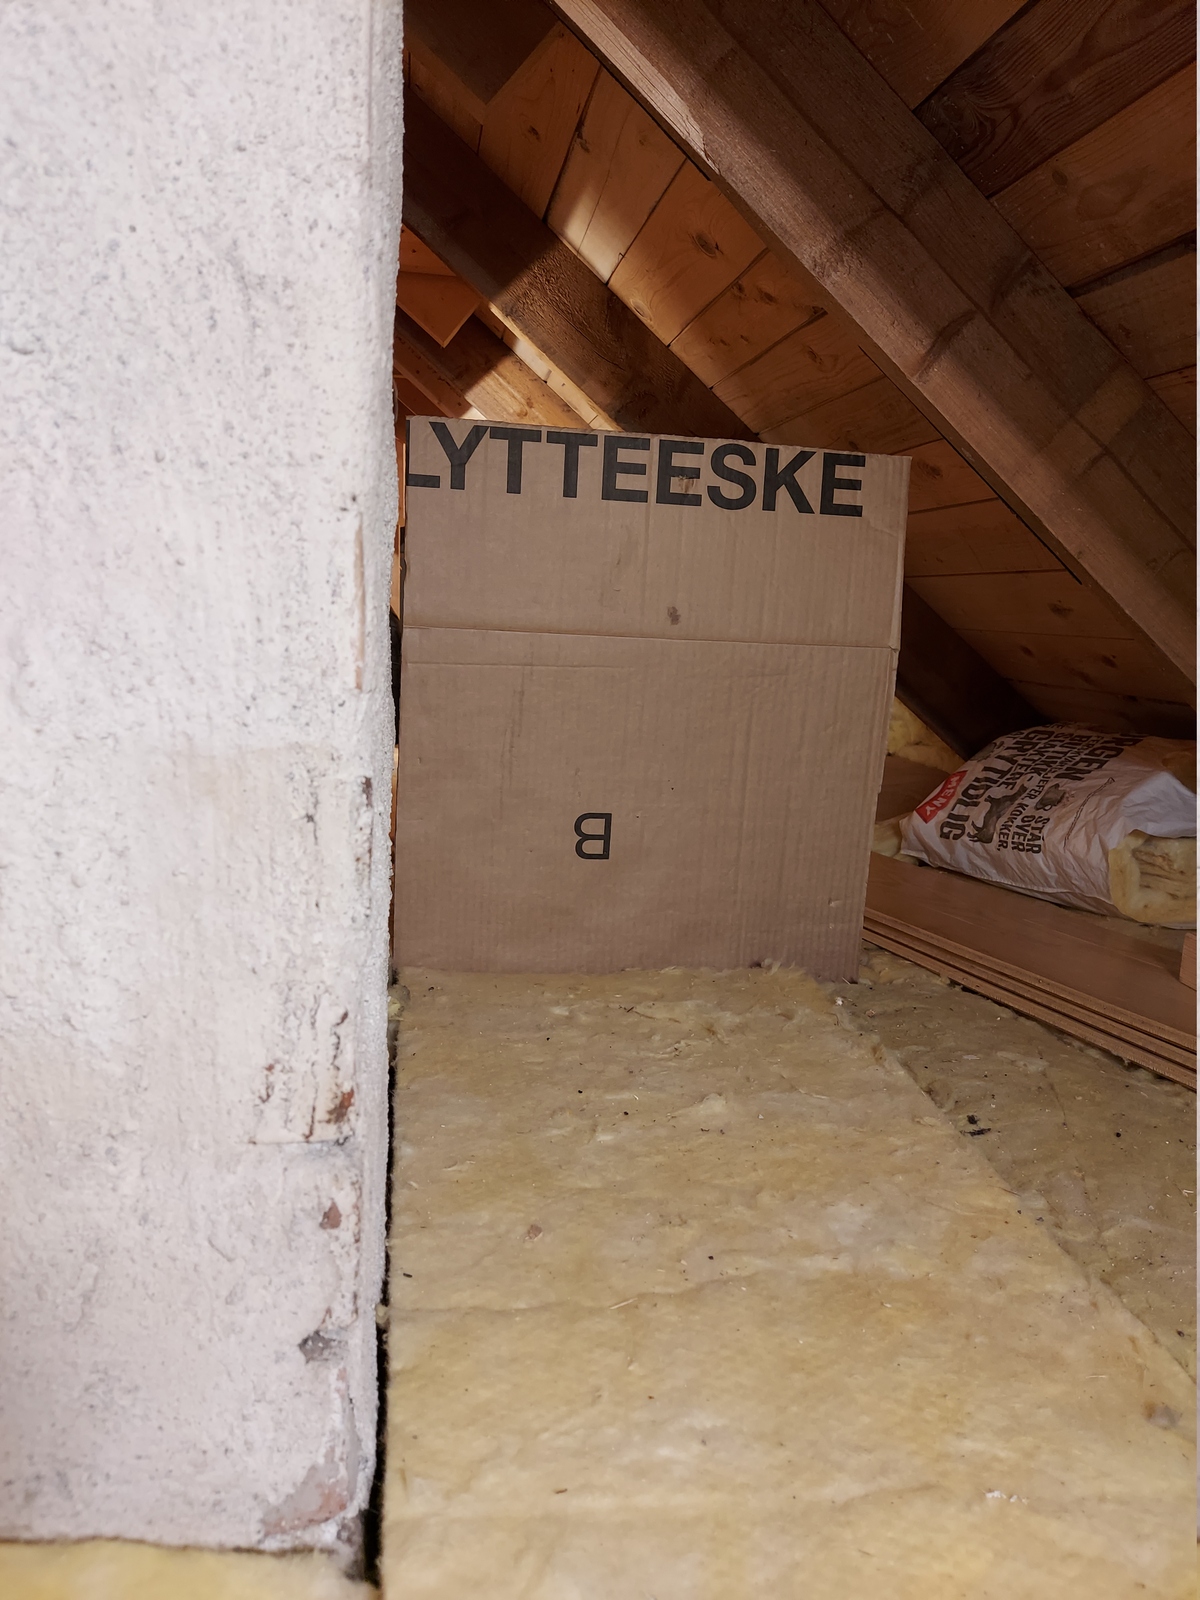
I cut out a cardboard template, with the same dimensions as the ventilation unit. It looked like it would fit… 🙂

…But only if I removed a 2"3 plank I previously installed to raise the joists above the insulation, for the attic flooring.
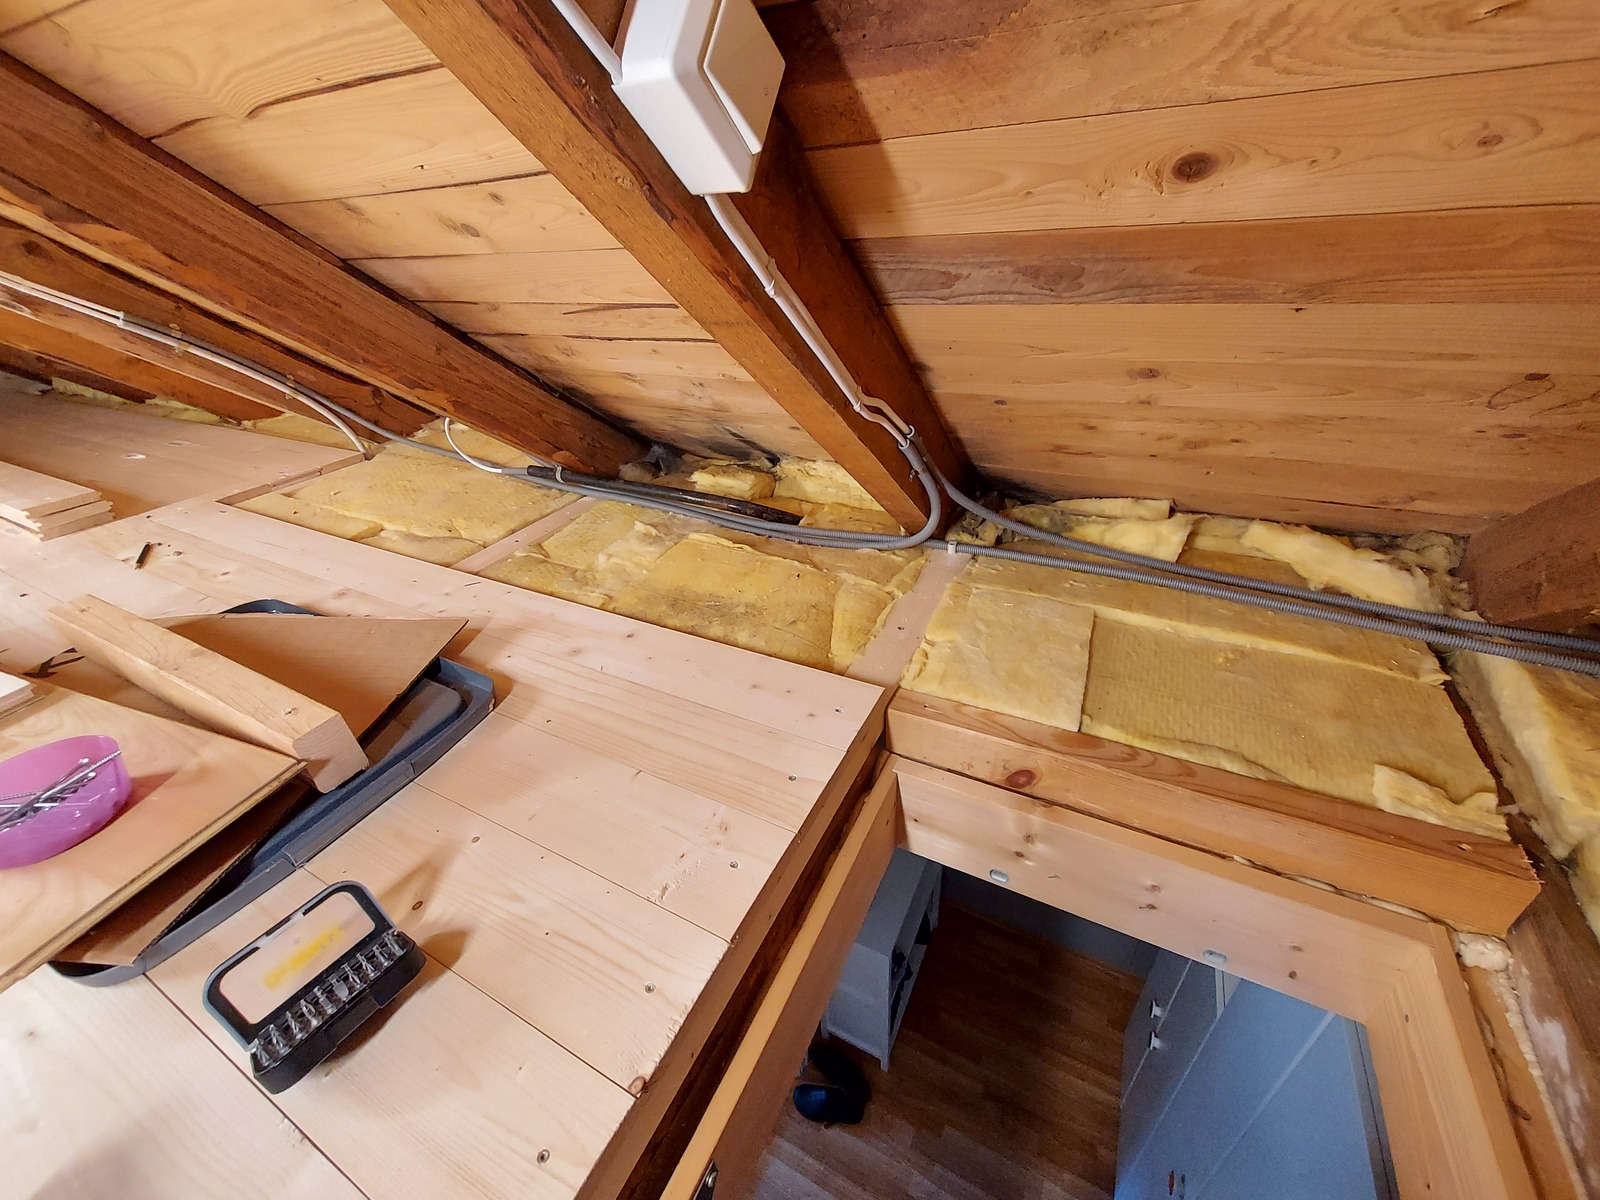
Next I got started removing some of the previously installed floor boards, so make room for the ventilation ducks and vents.
Installation
Day 1
I must admit; the evening before the installation — I was pretty excited 🙂
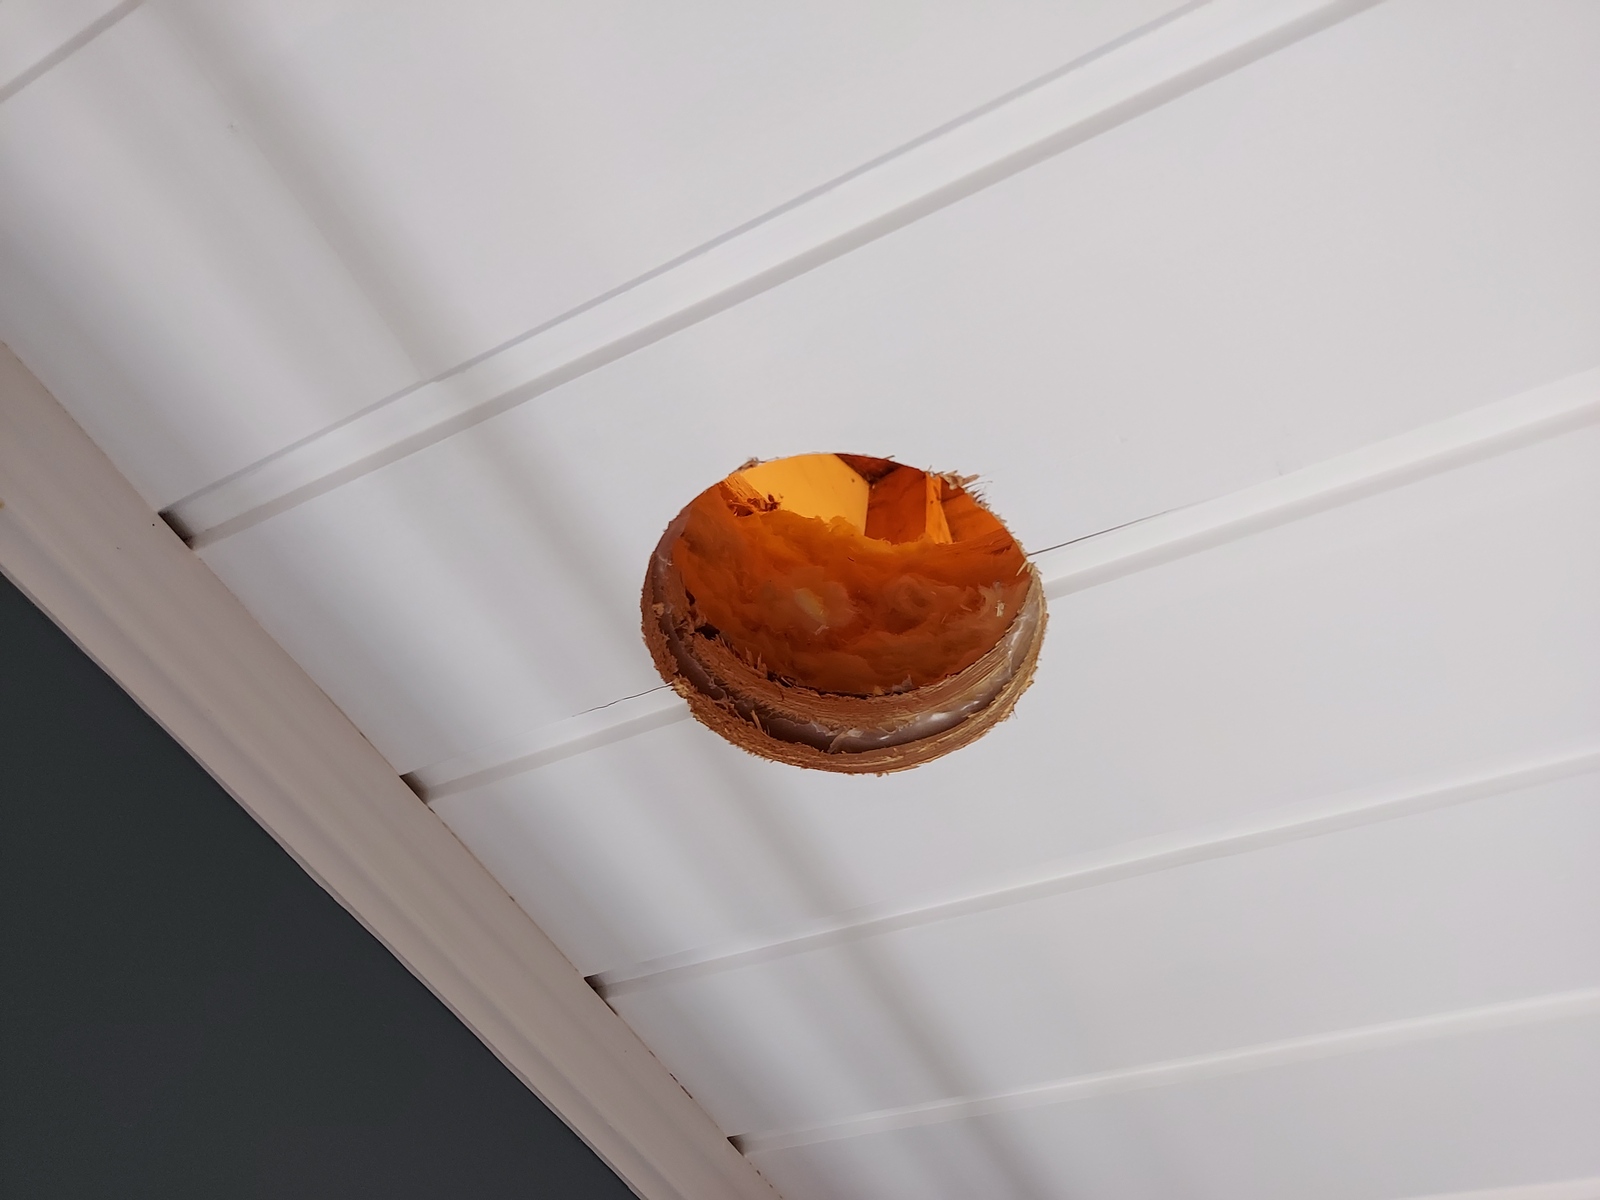
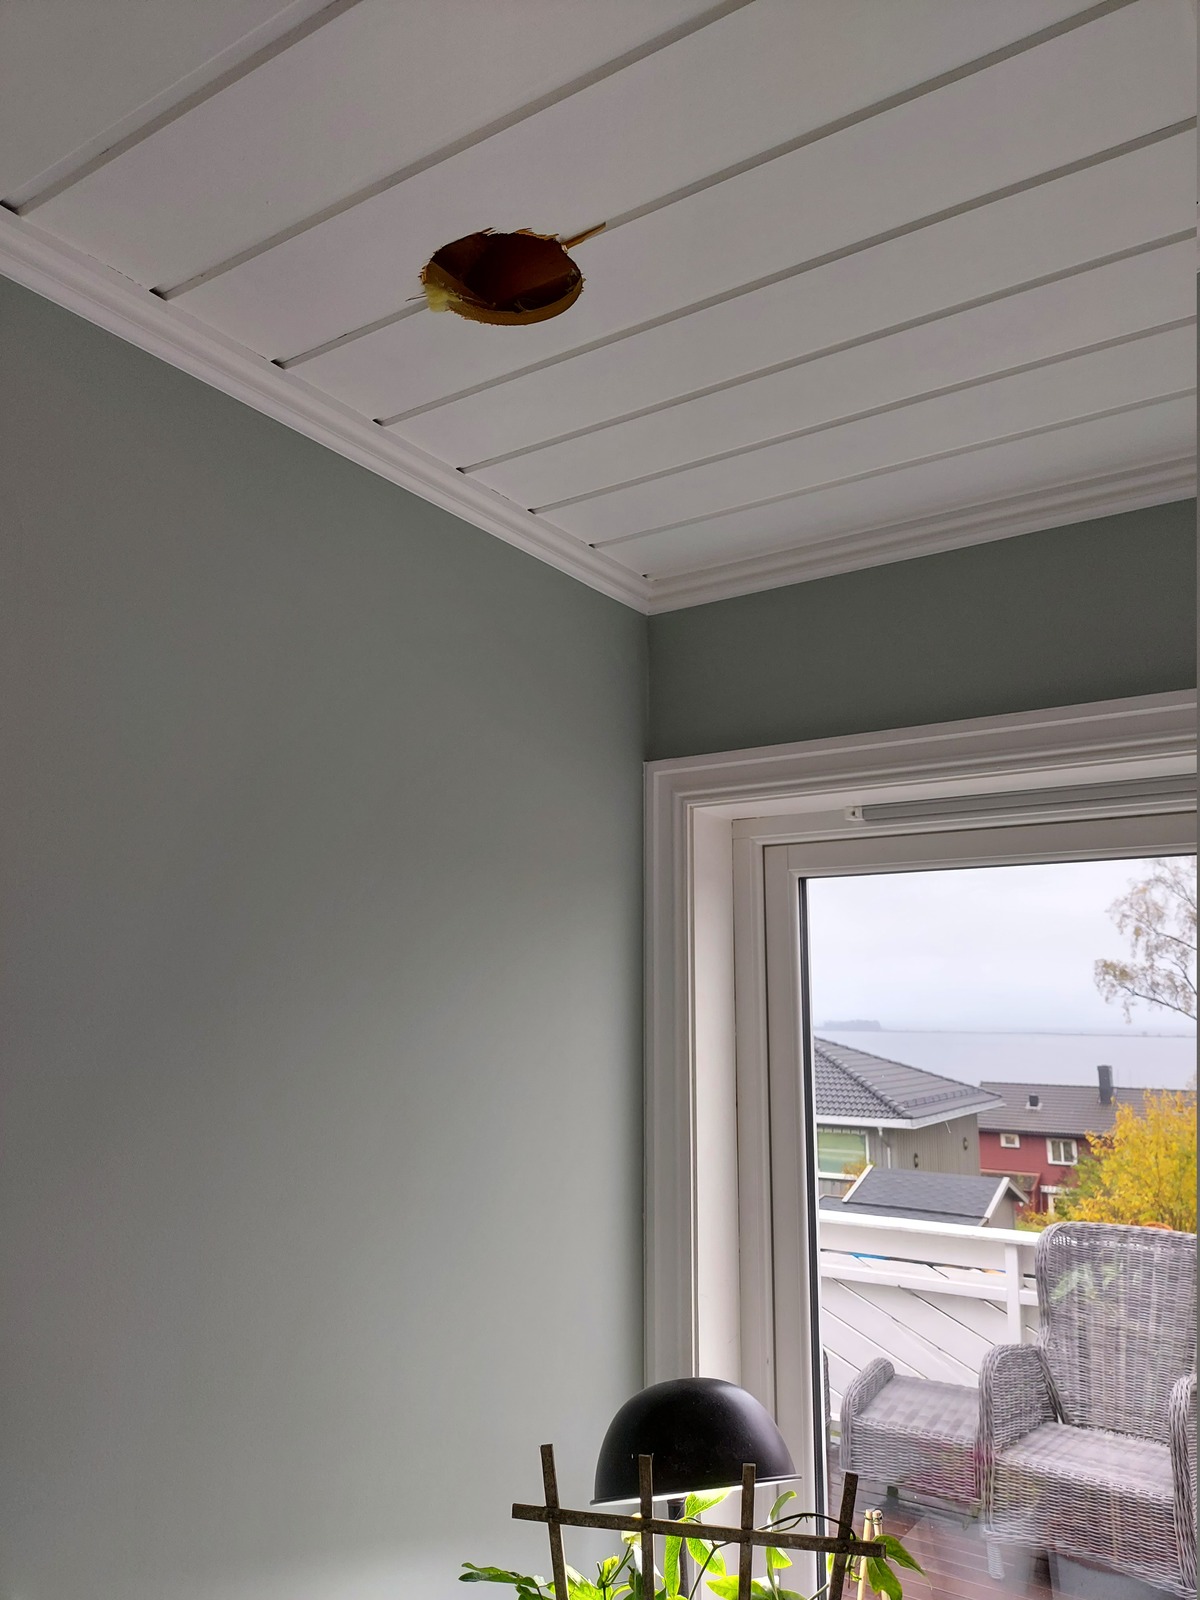
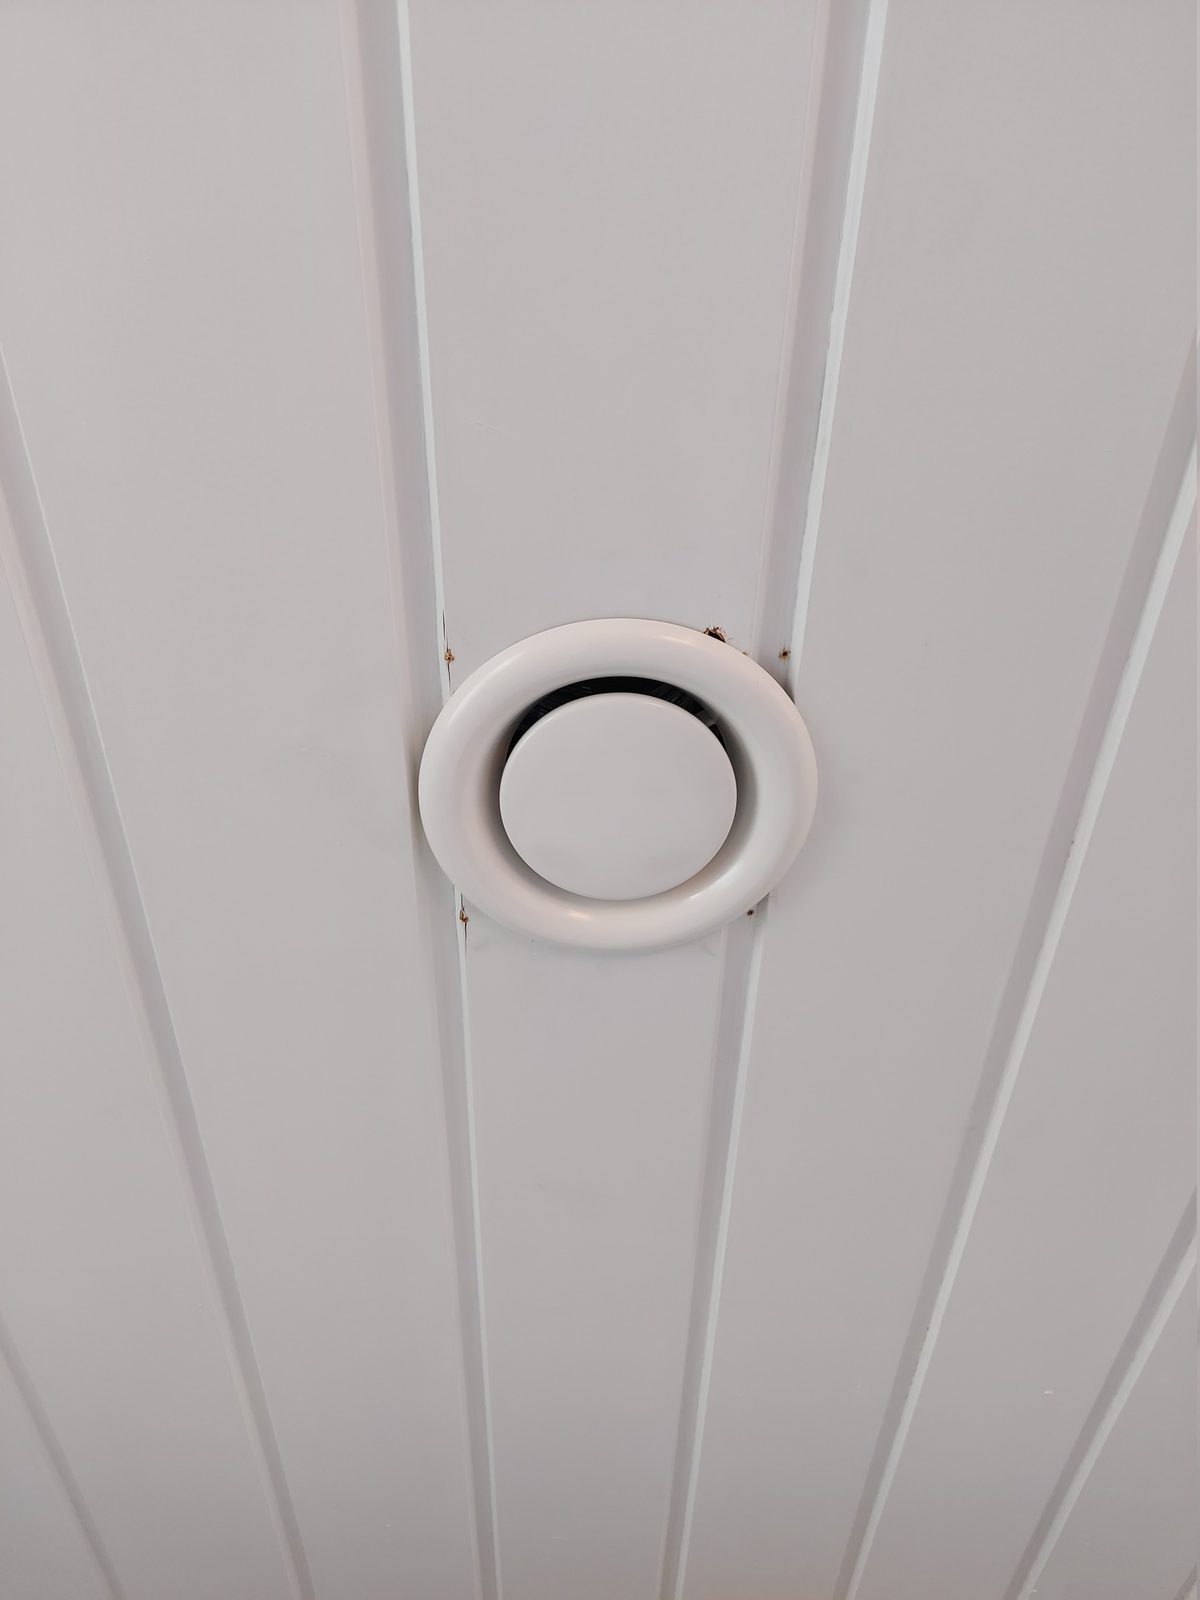
They got started making 125 mm holes in the ceiling, for the supply air vents.
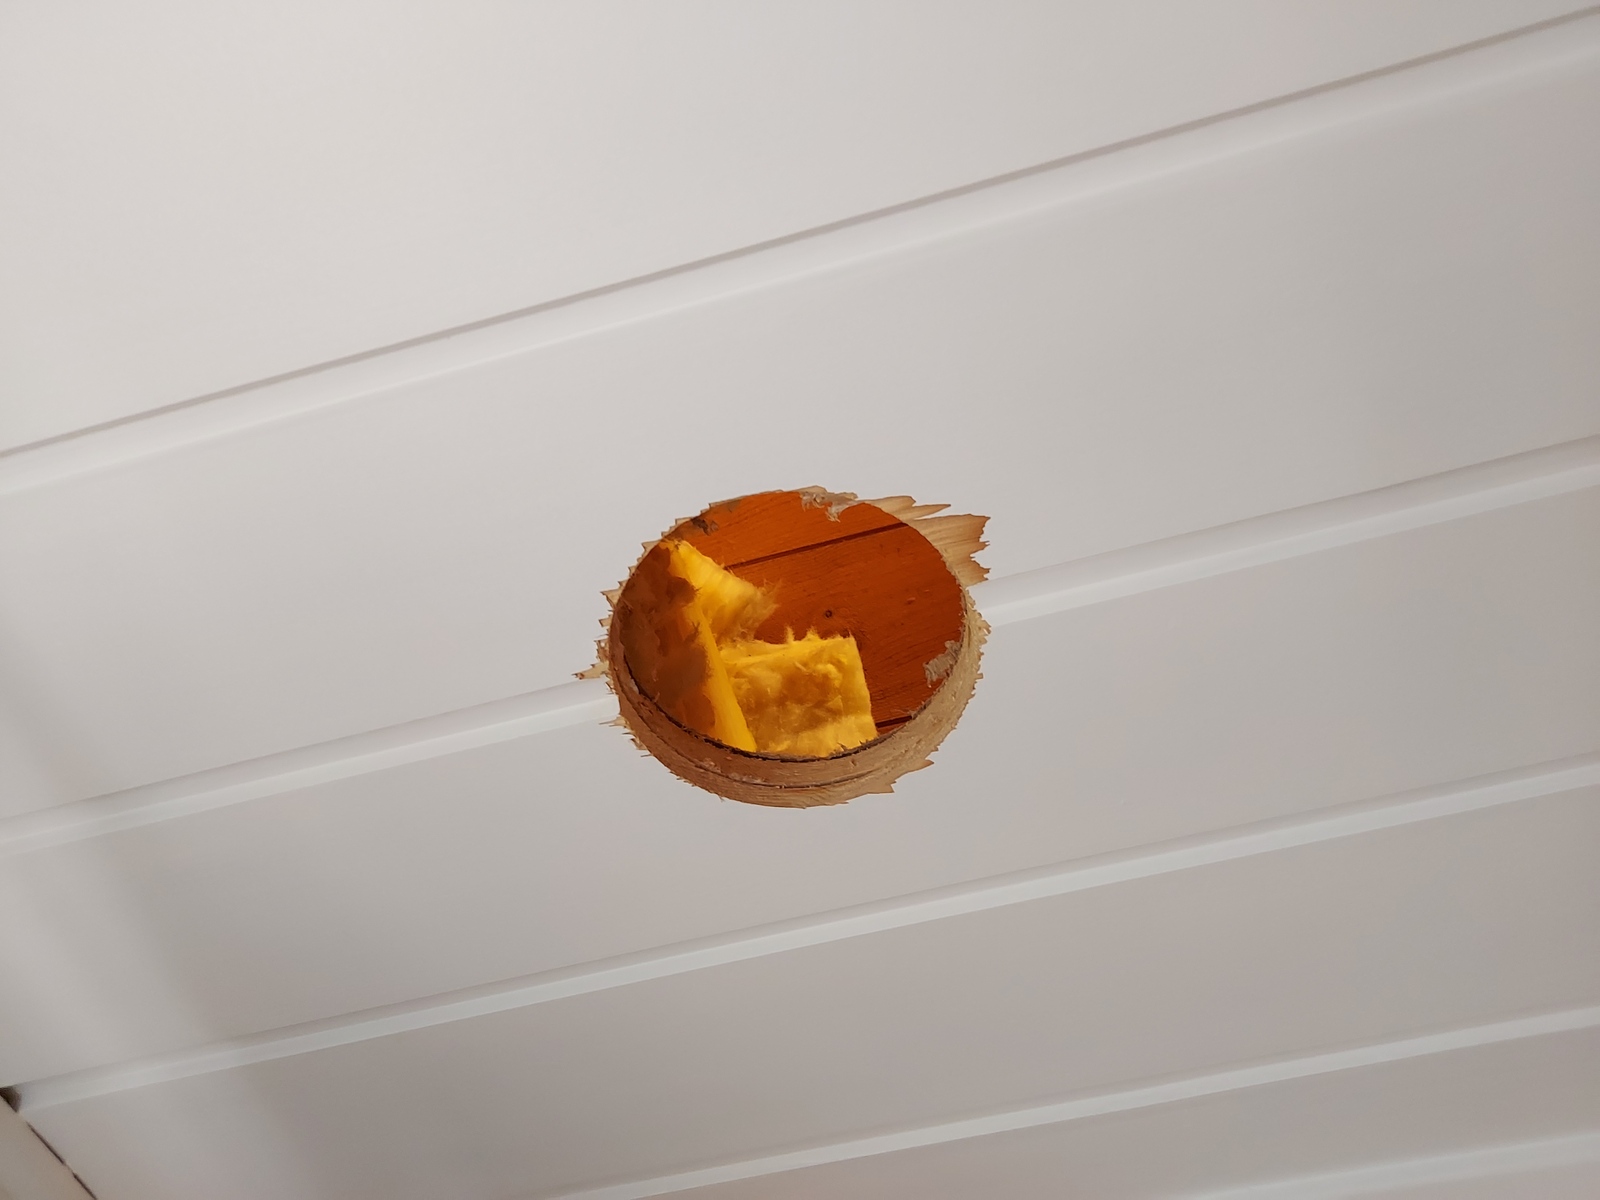
A few places the ceiling paneling chipped a bit, but it was mostly covered up by the vents. We’ll touch up a bit with some paints — eventually 🙂
The bathroom already had an opening, where the exhaust fan used to be. The cable and screw holes are visible.
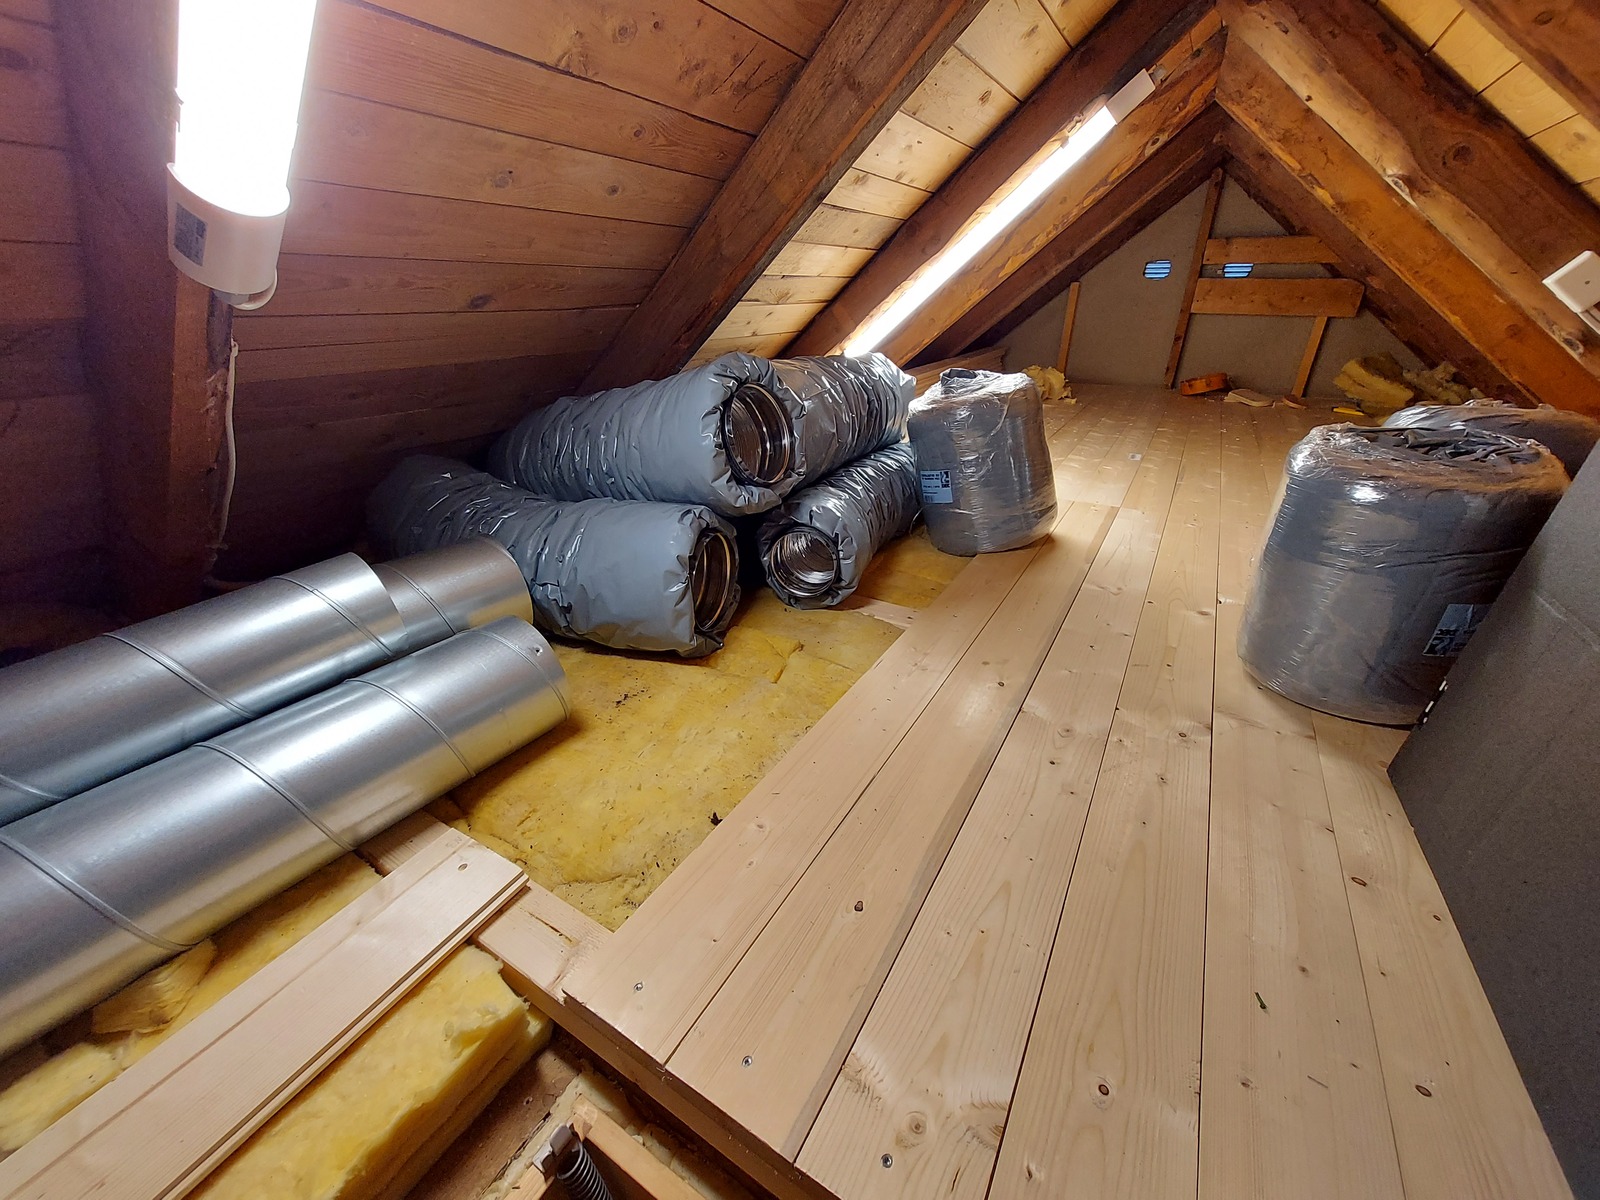
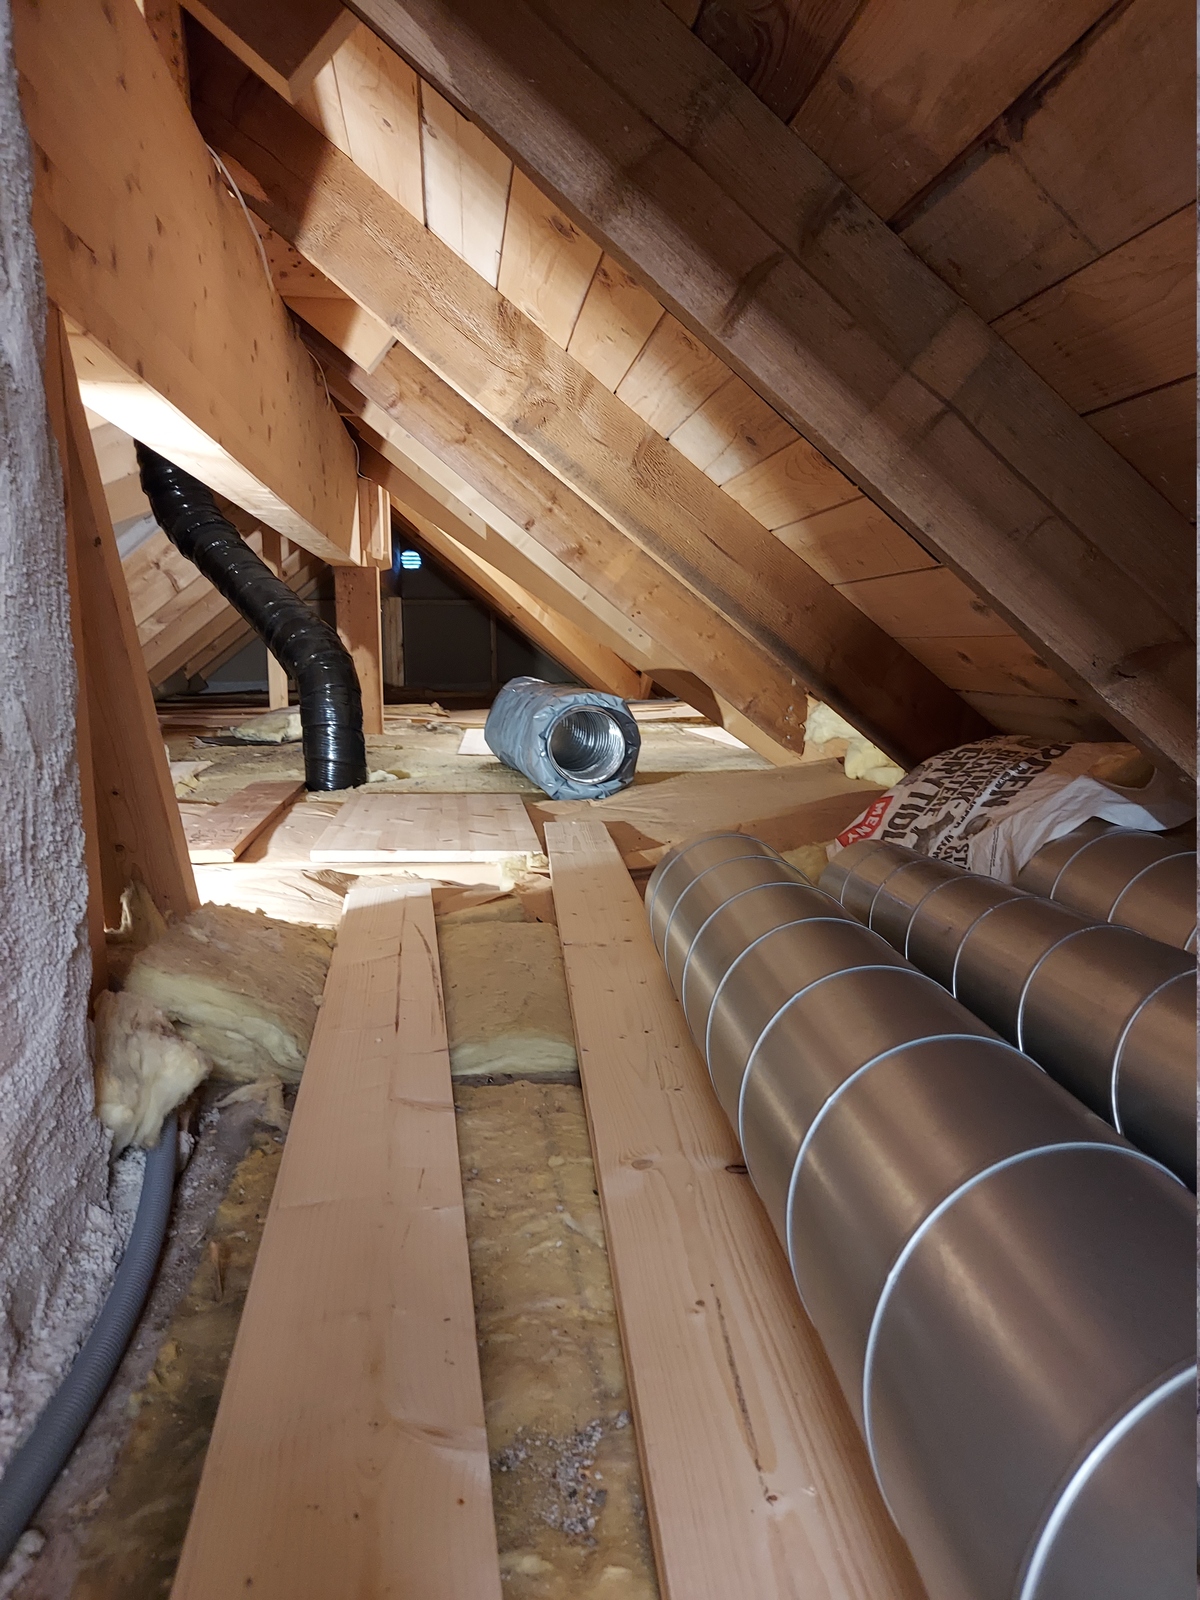
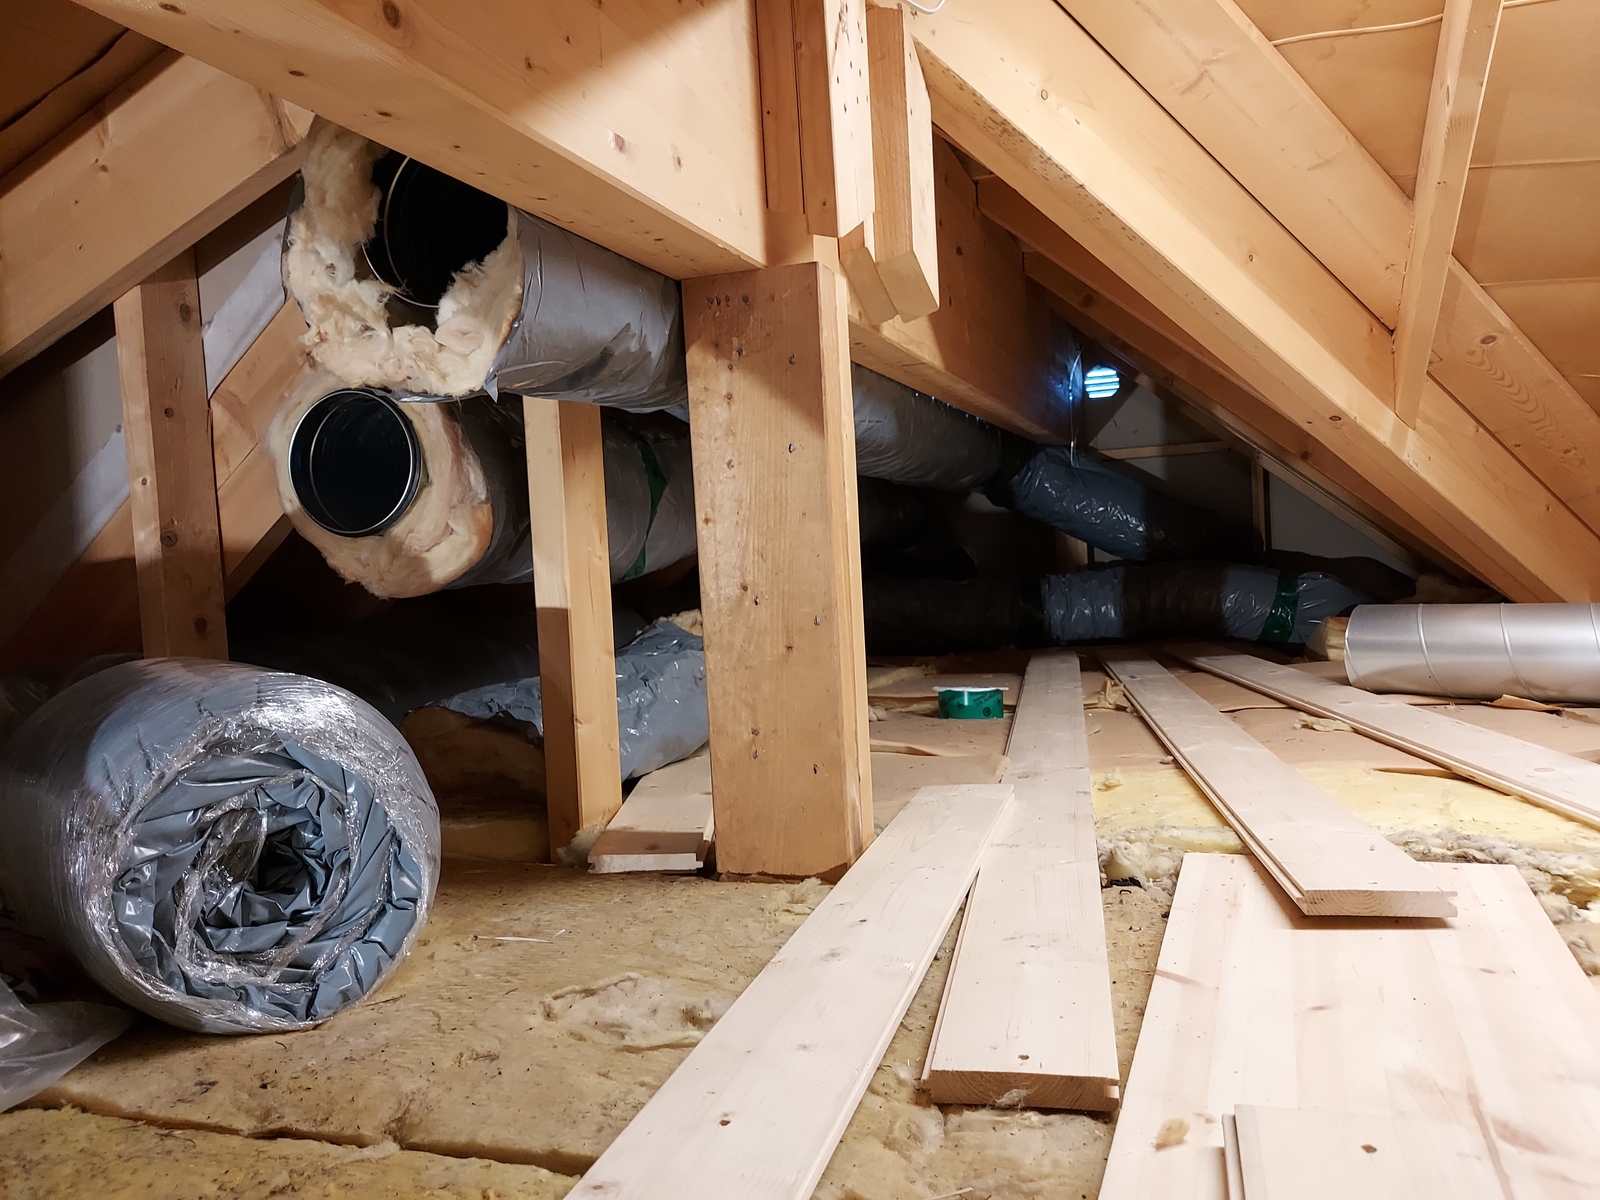
A lot of spiral ducts and ducting accessories, like noise traps, were carried up to the attic.
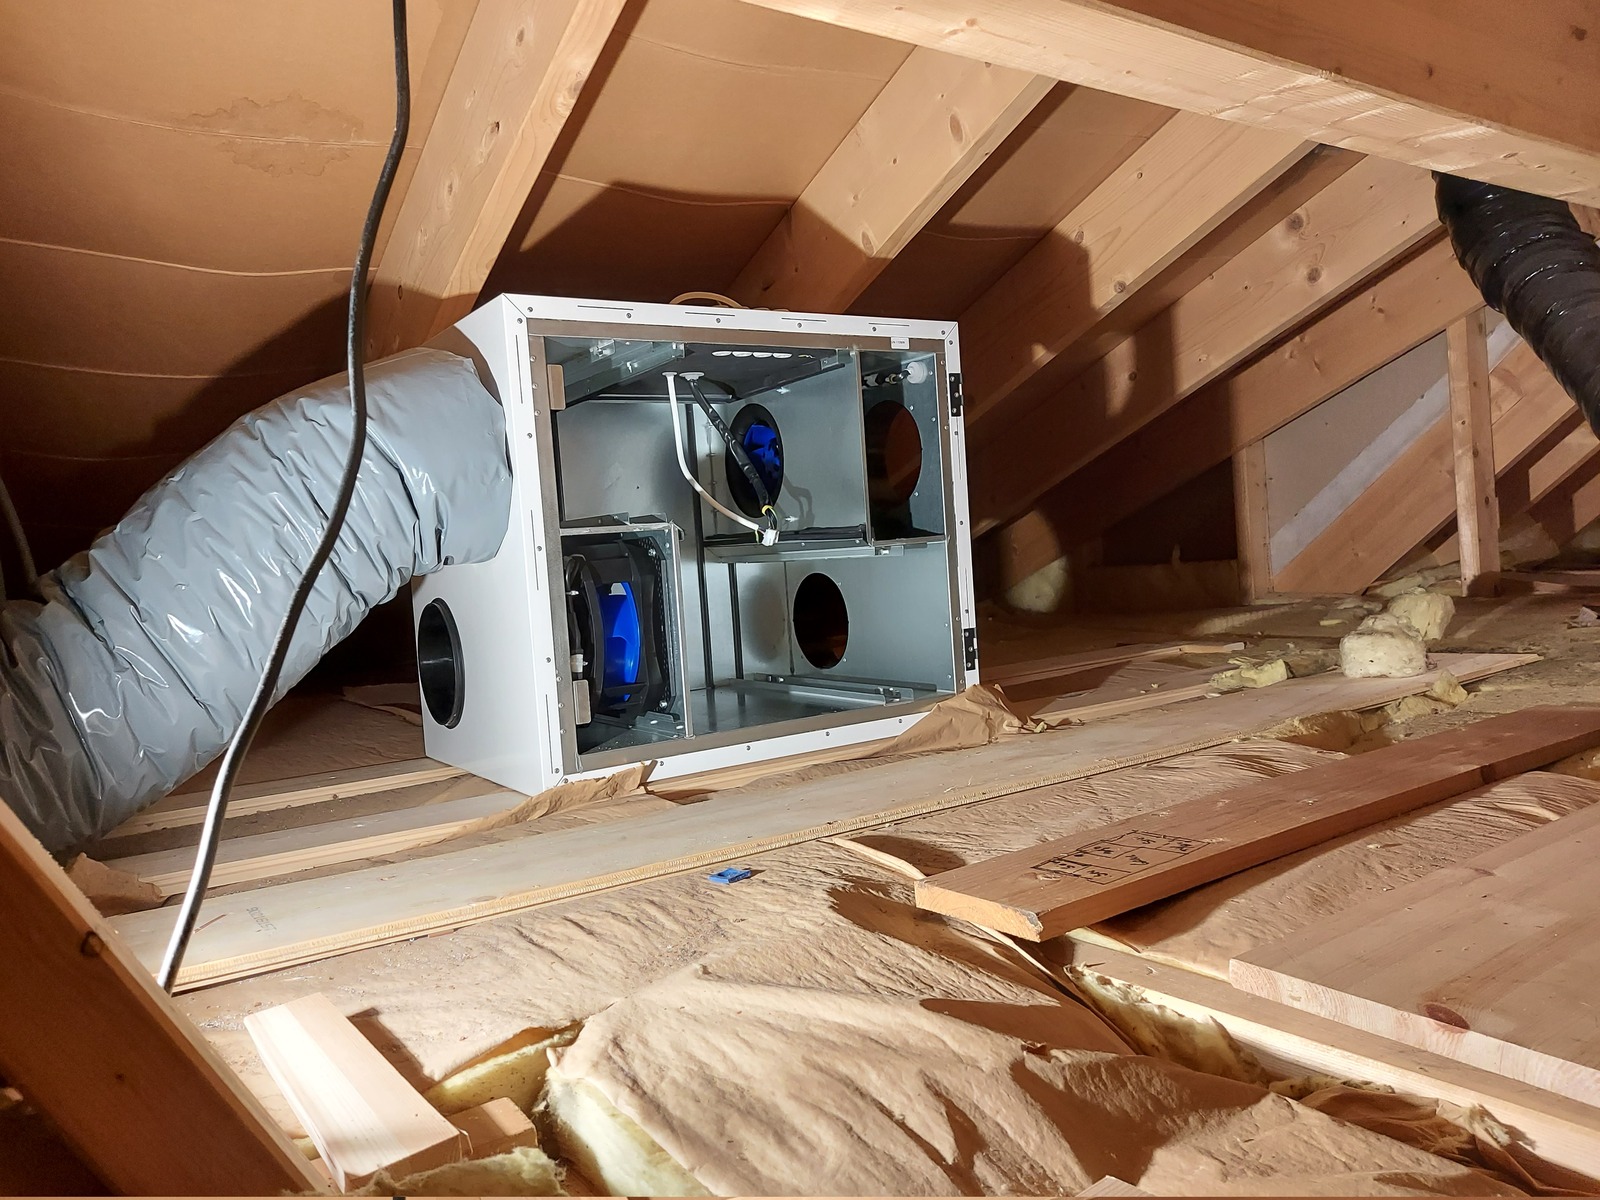
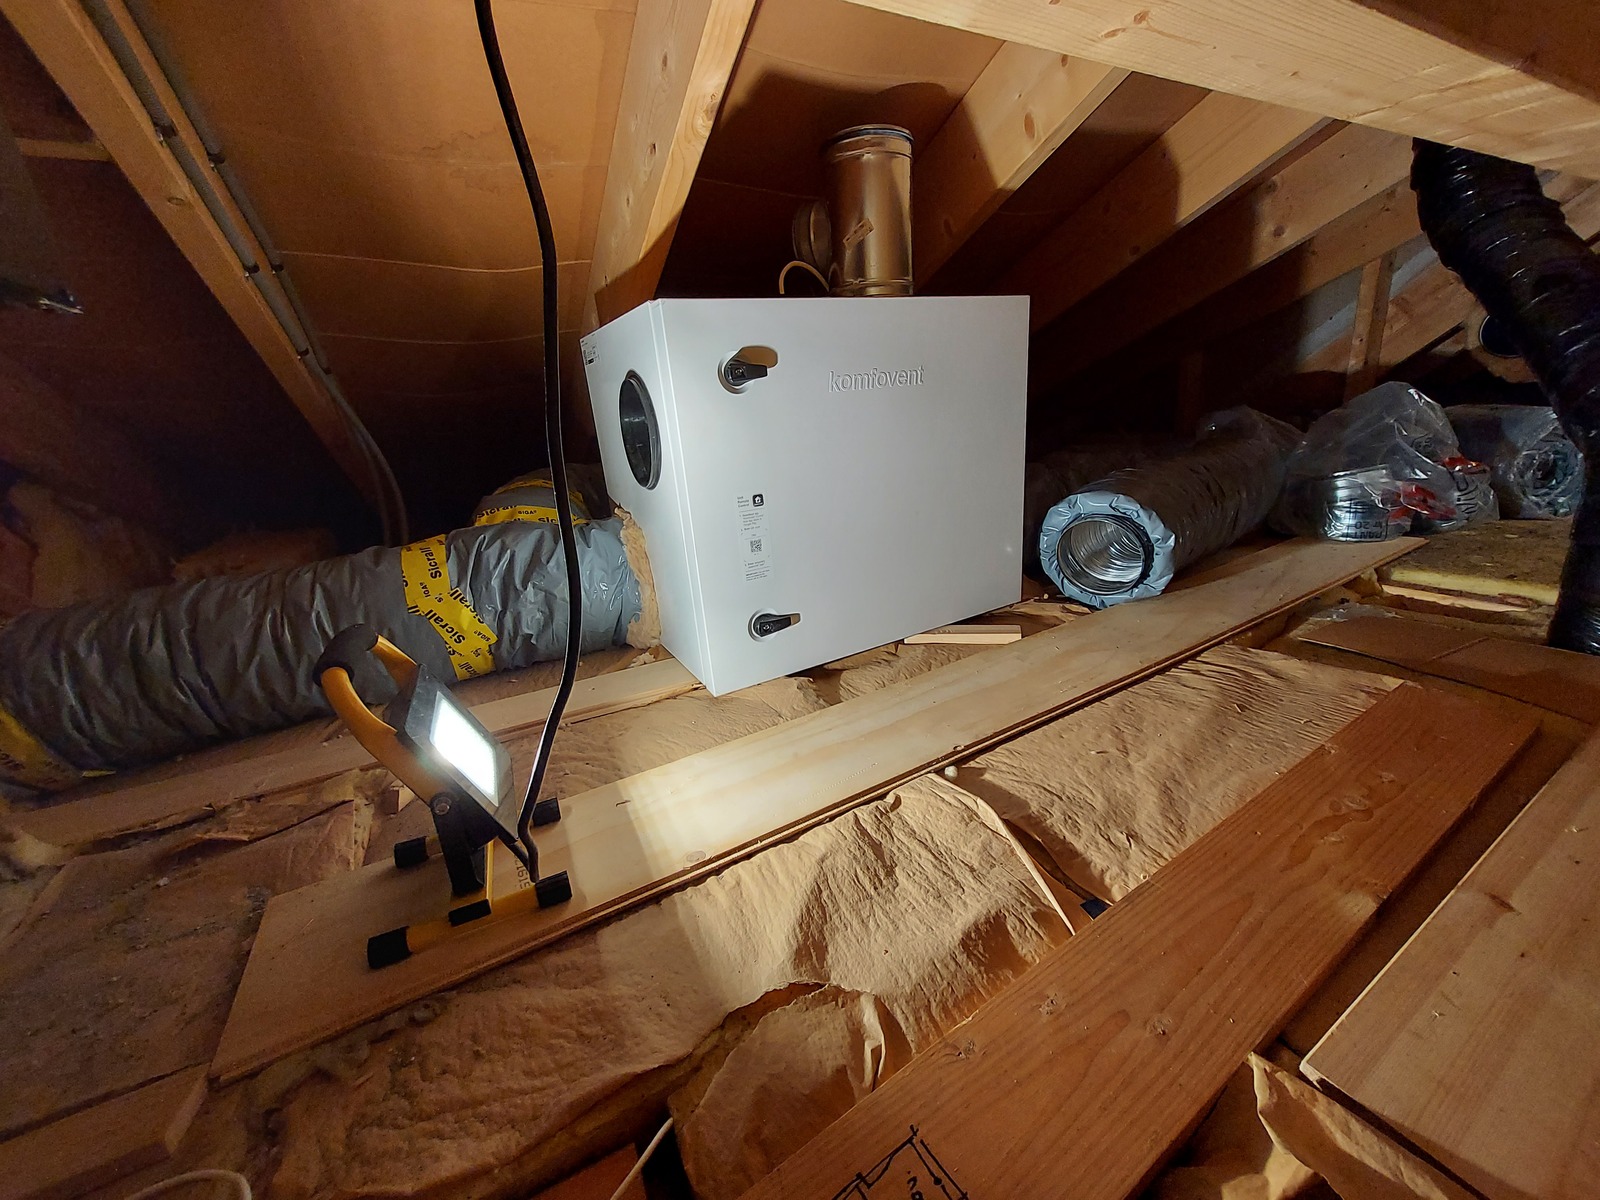
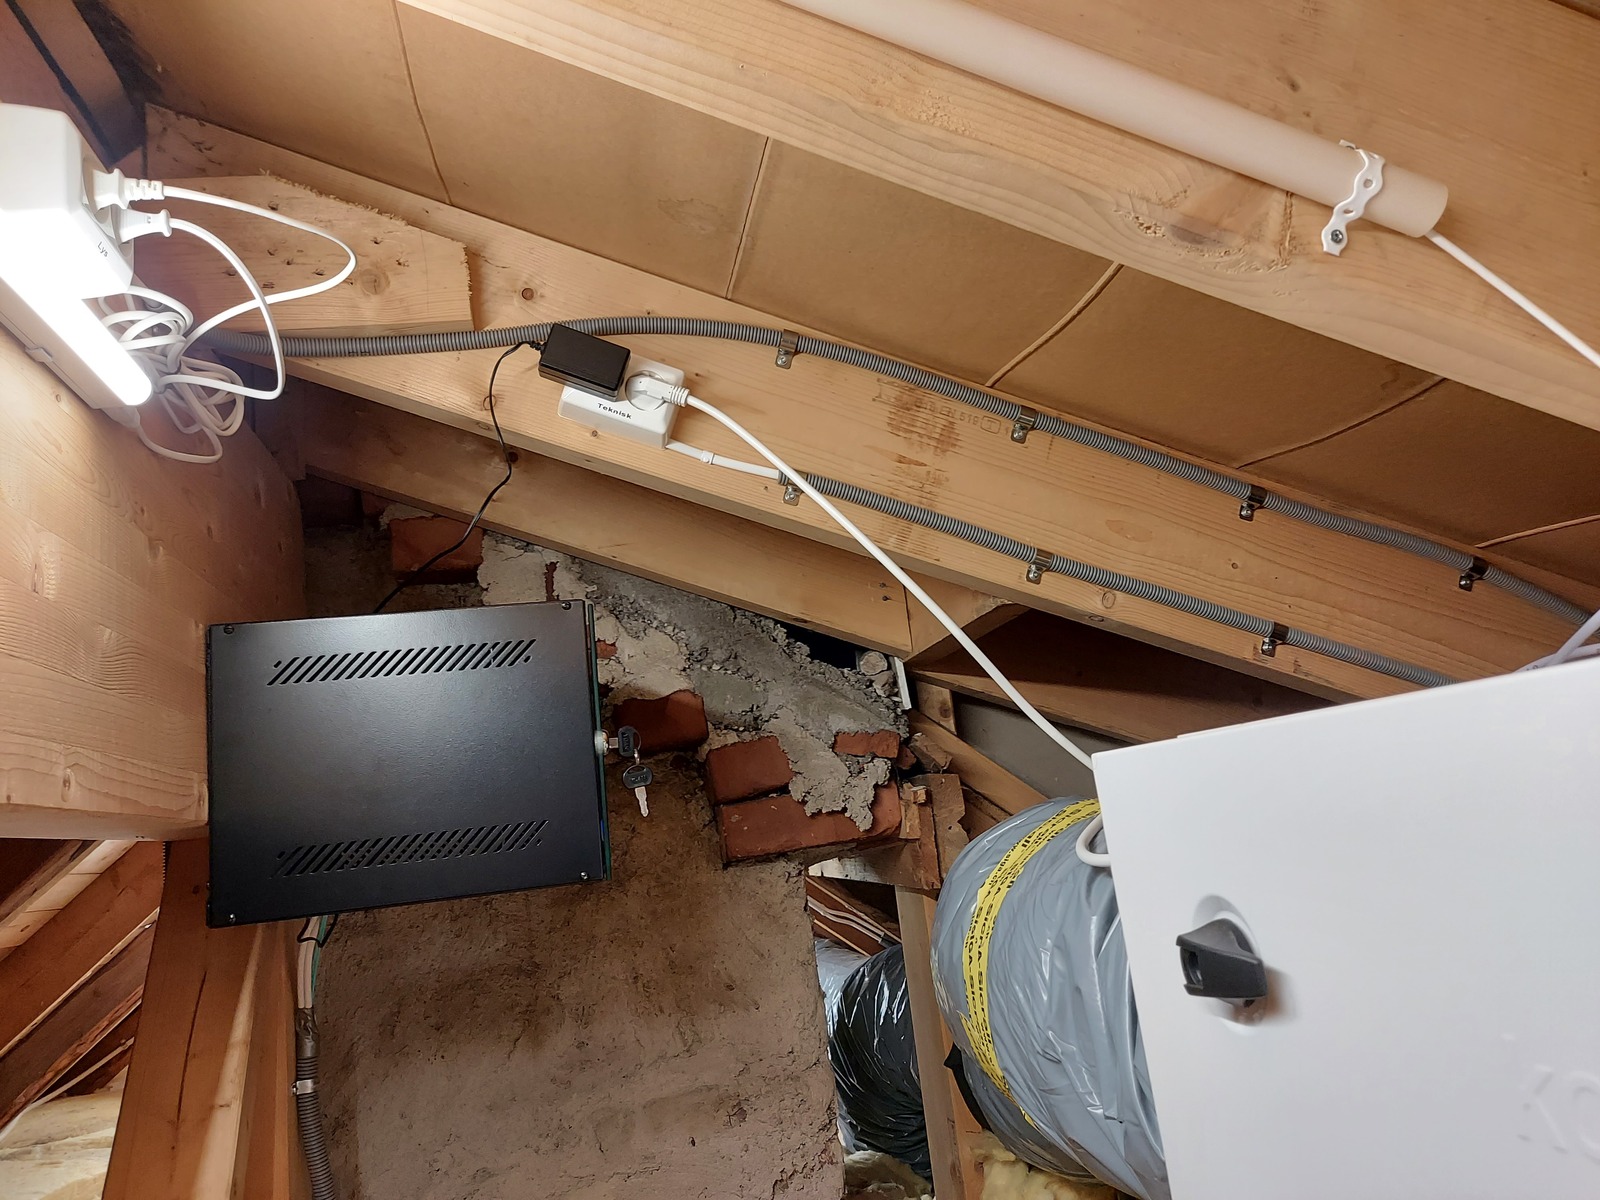
The ventilation unit did in fact fit between the chimney and rafters 🙂 It’s installed above the bathroom, as it is audible and not something you want above a bedroom (although it is very, very quiet).

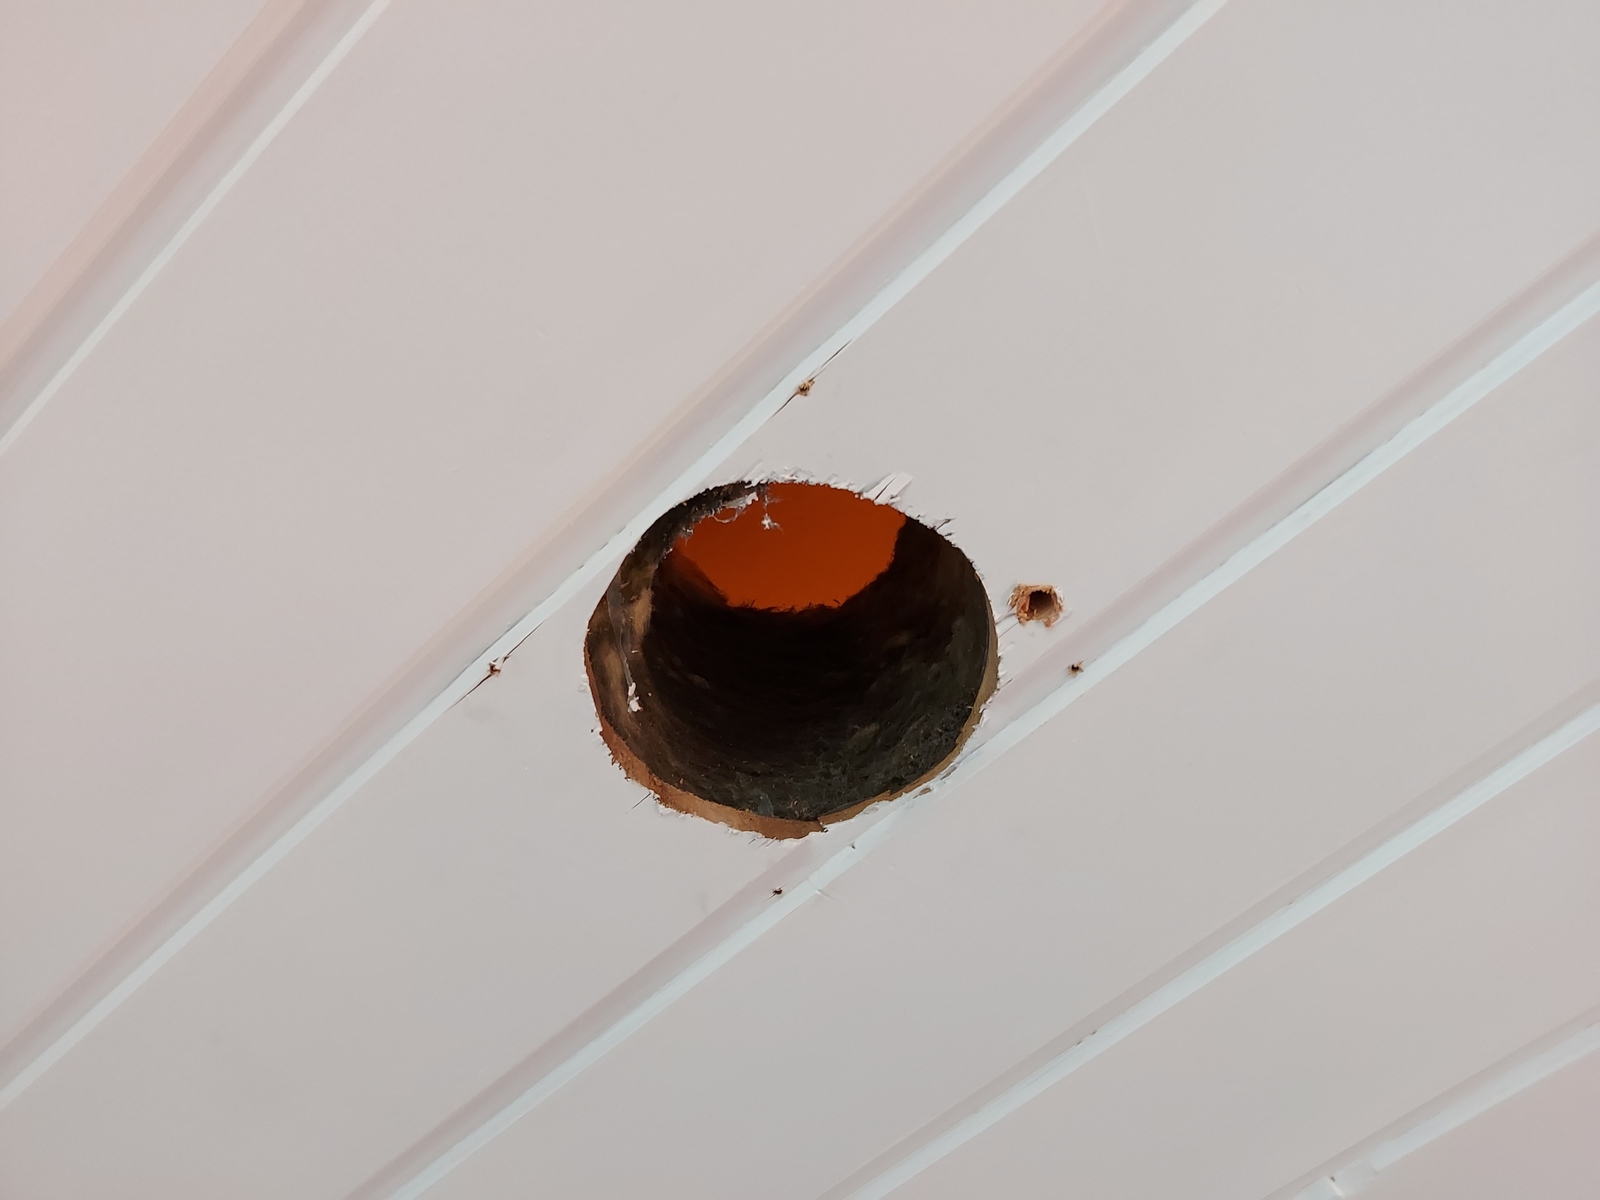
The hole drilling continues! This one going through the attic flooring, and into one of the kids’ rooms.
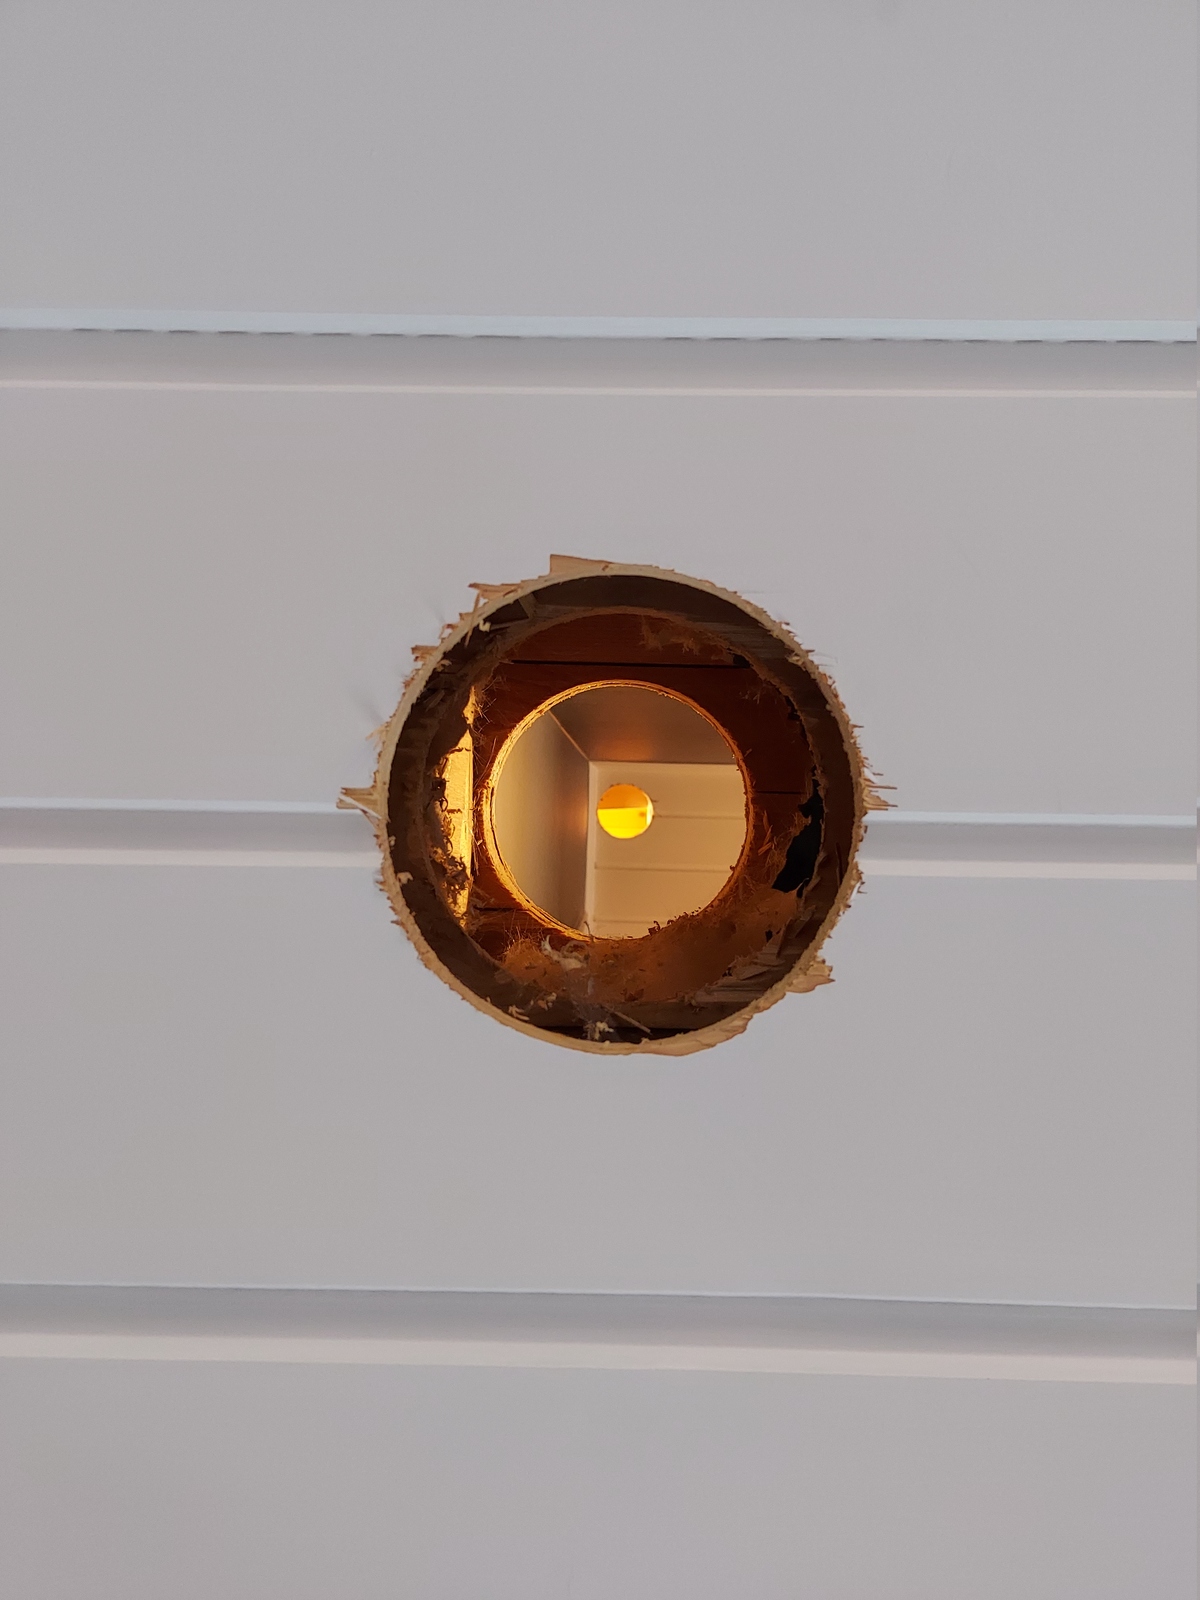
The most exciting/challenging duct; is the one going through the 2nd floor, and into the 1st floor living room. Here seen from below, all the way up to the attic 🙂
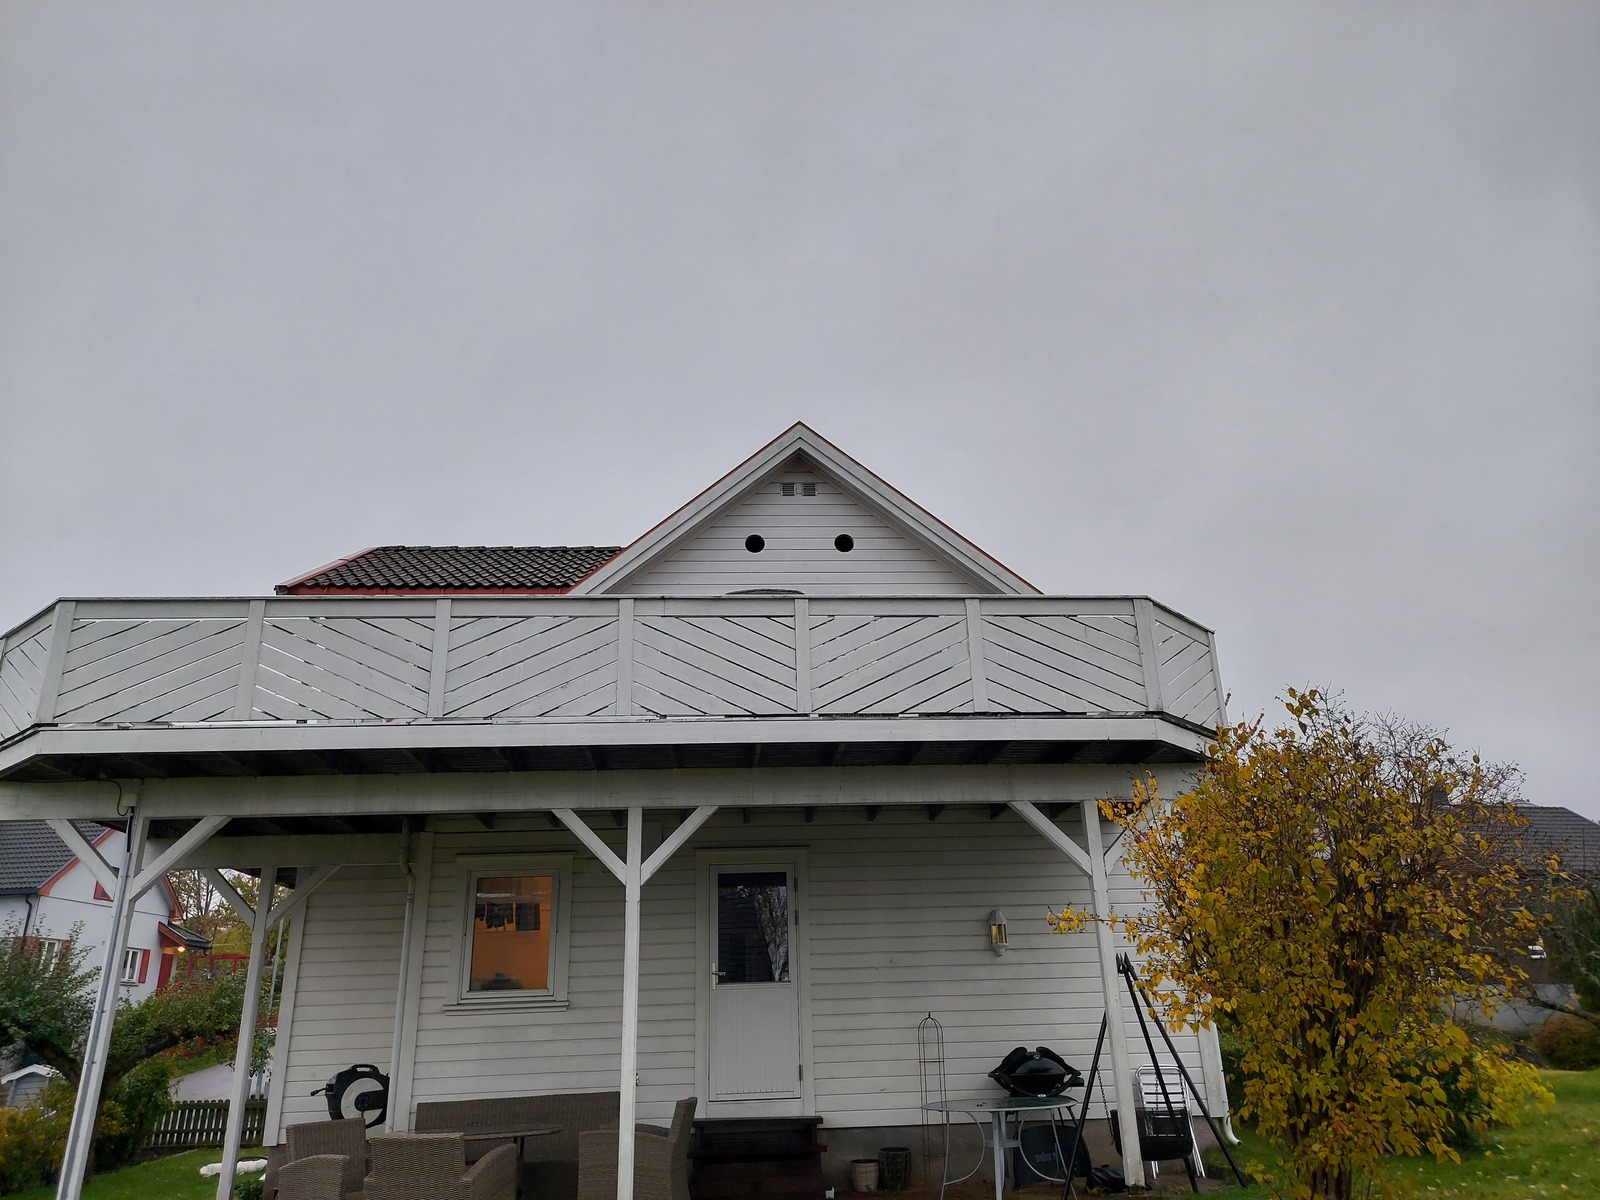
Two 160 mm holes were cut in the east facing gable wall, for the outside exhaust and supply air. The east wall is typically used because it’s in the shade most of the day.
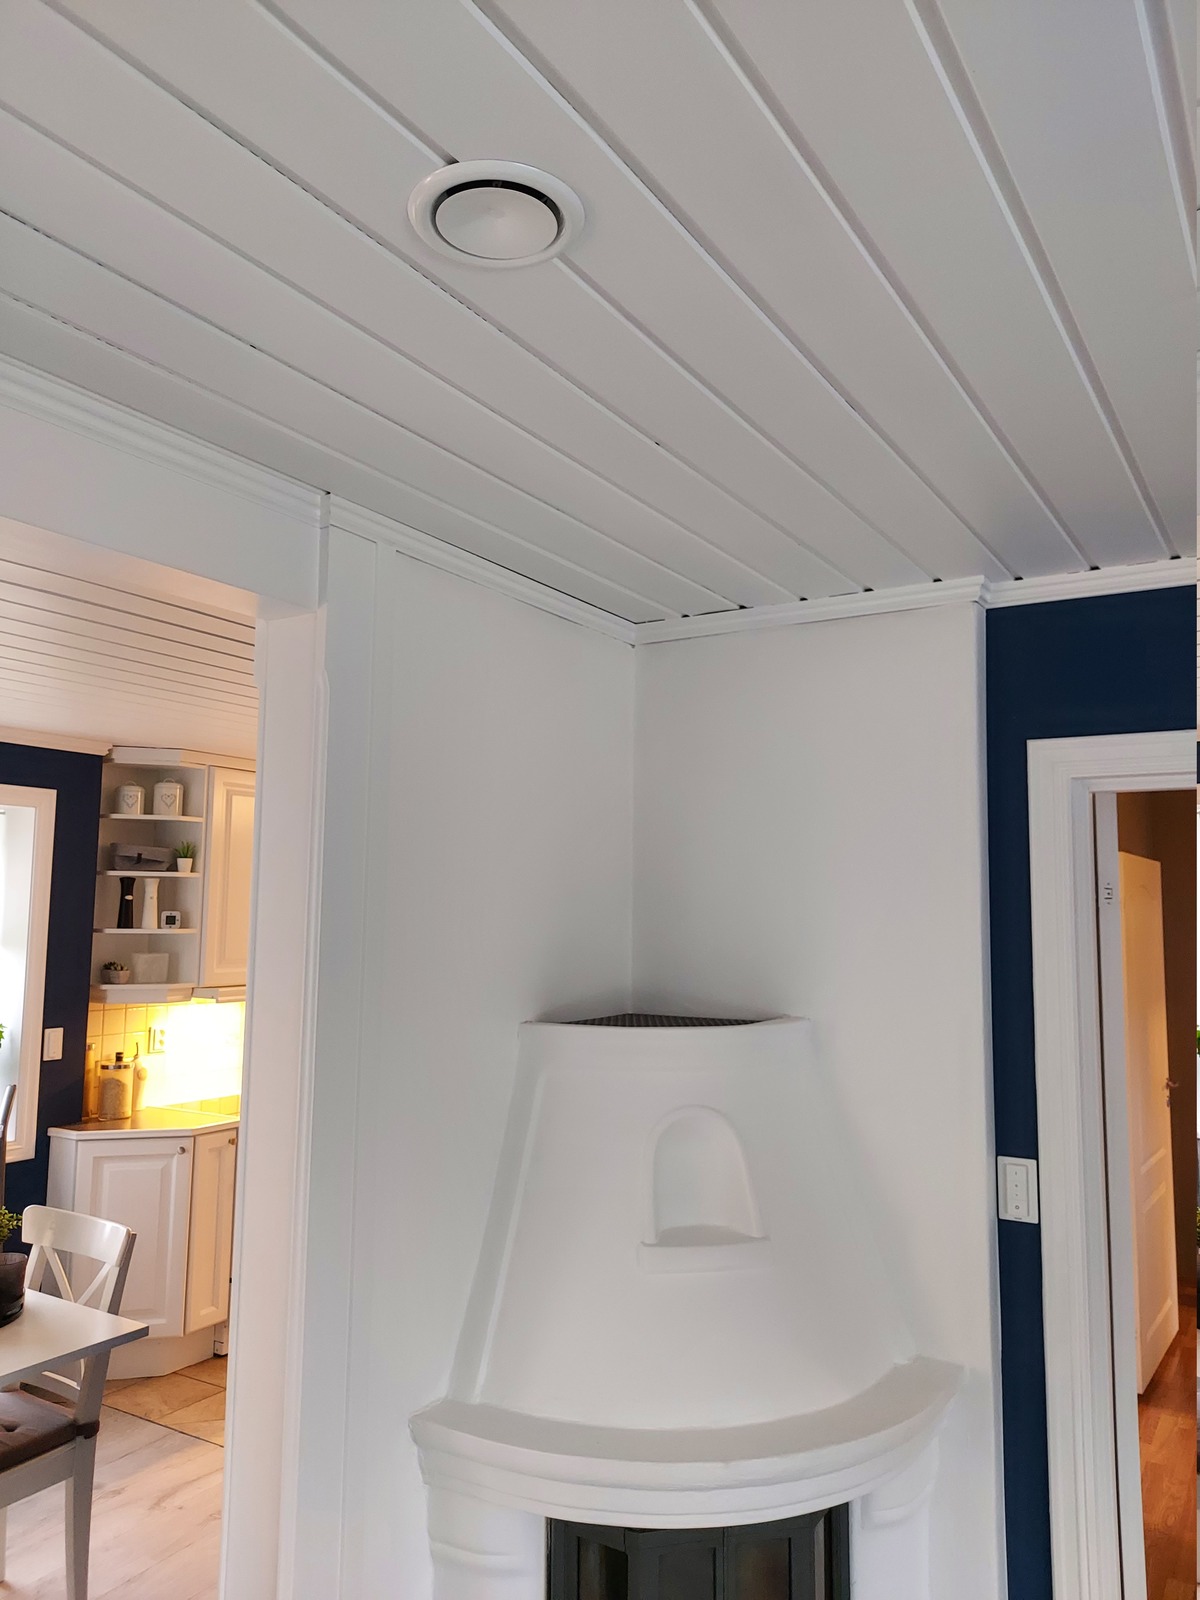
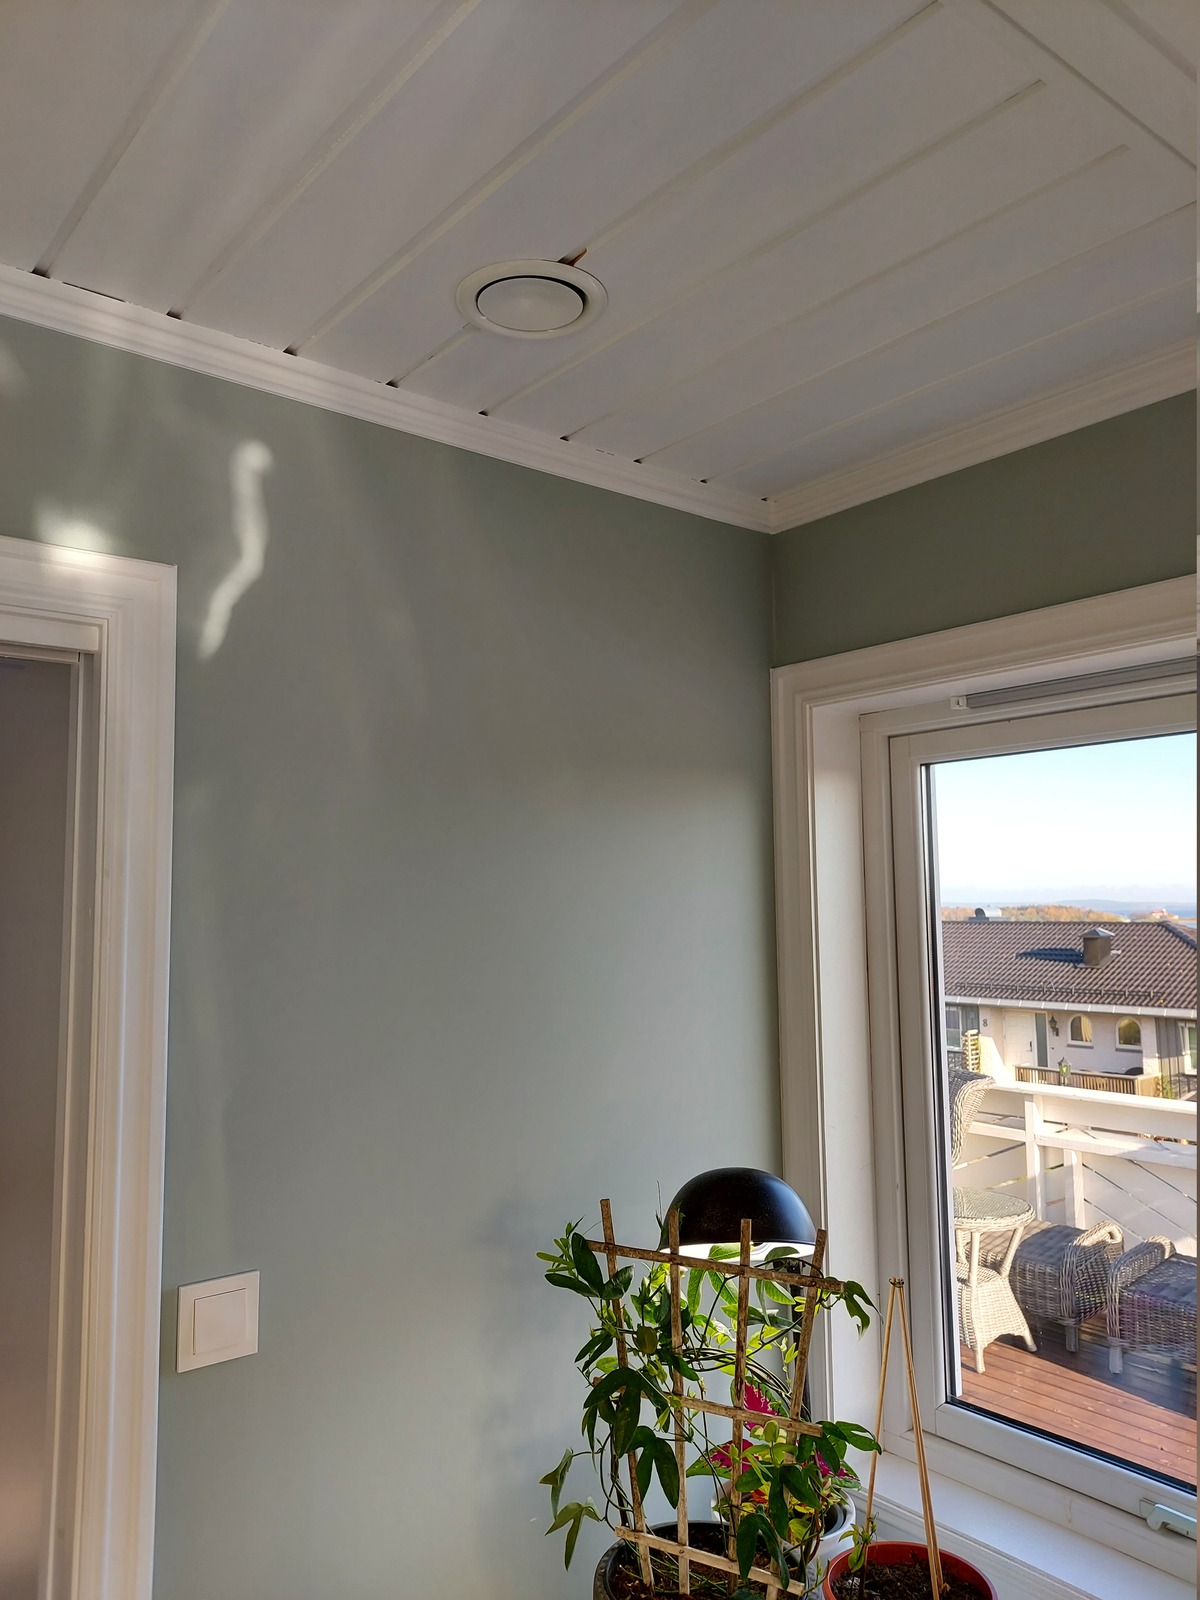
Vent in 1st floor living room installed 🙂
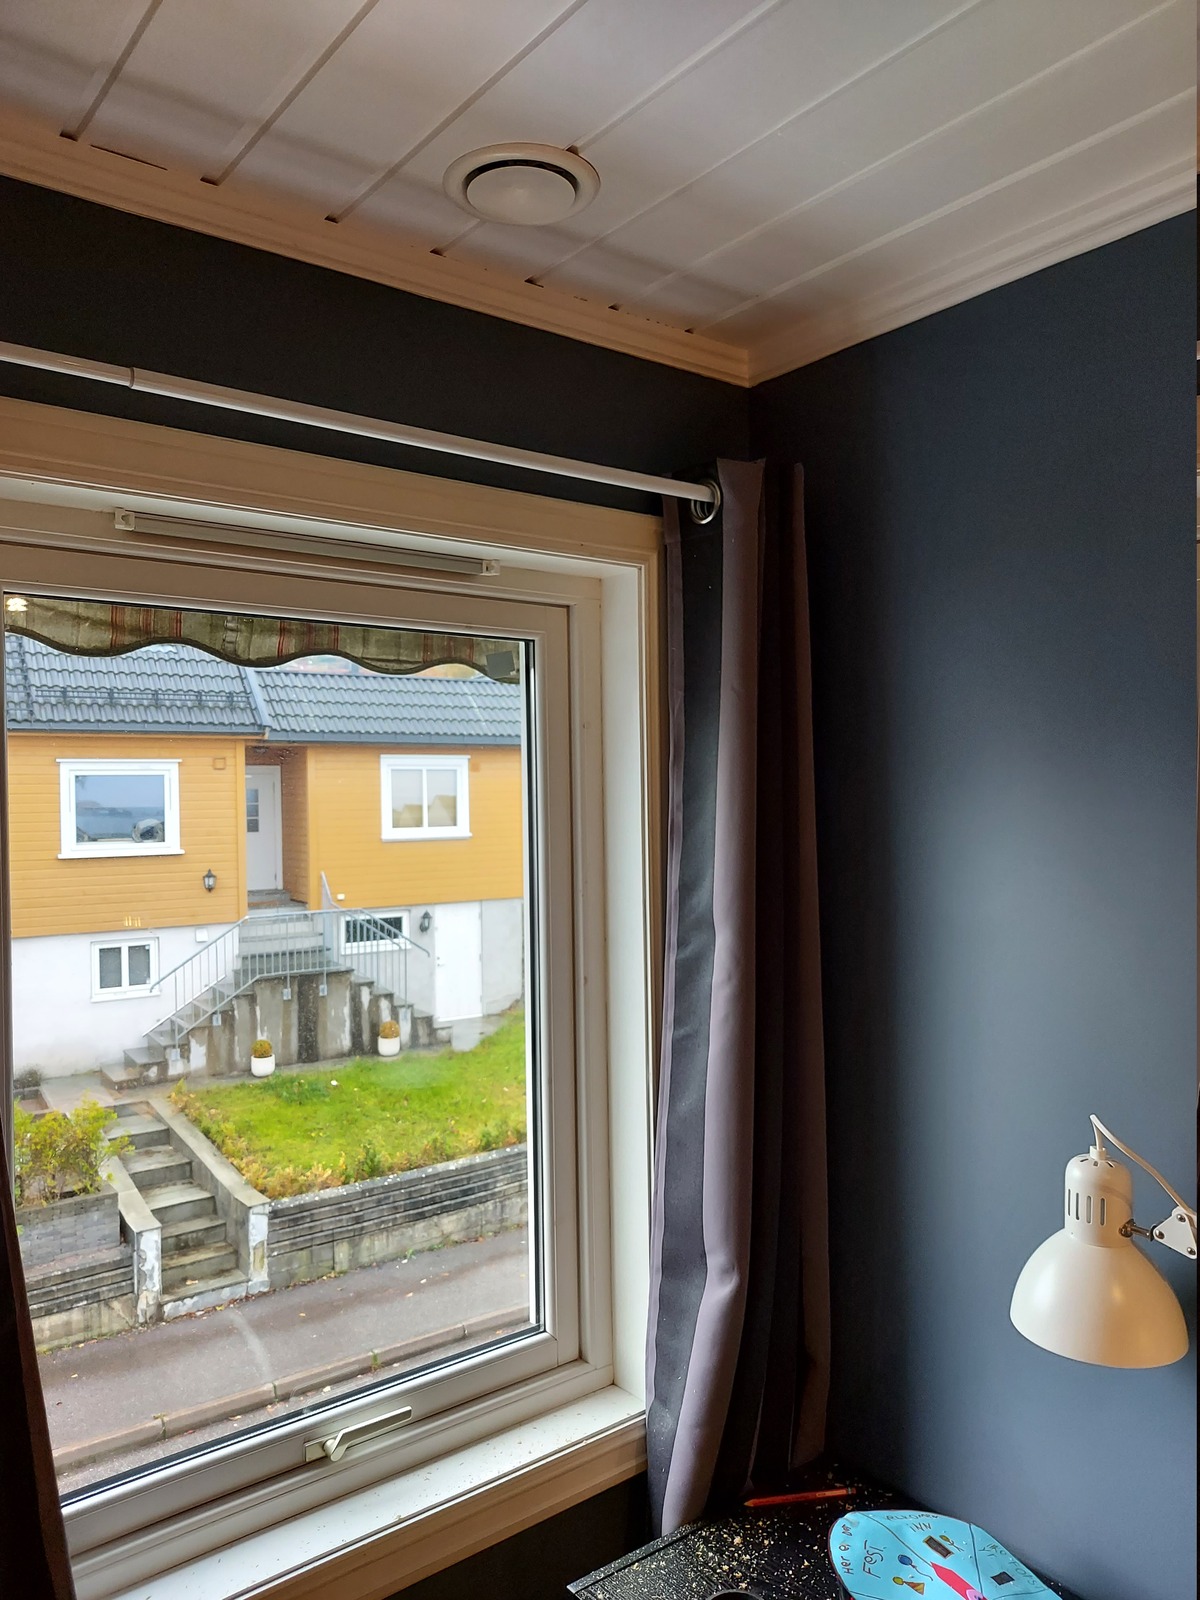
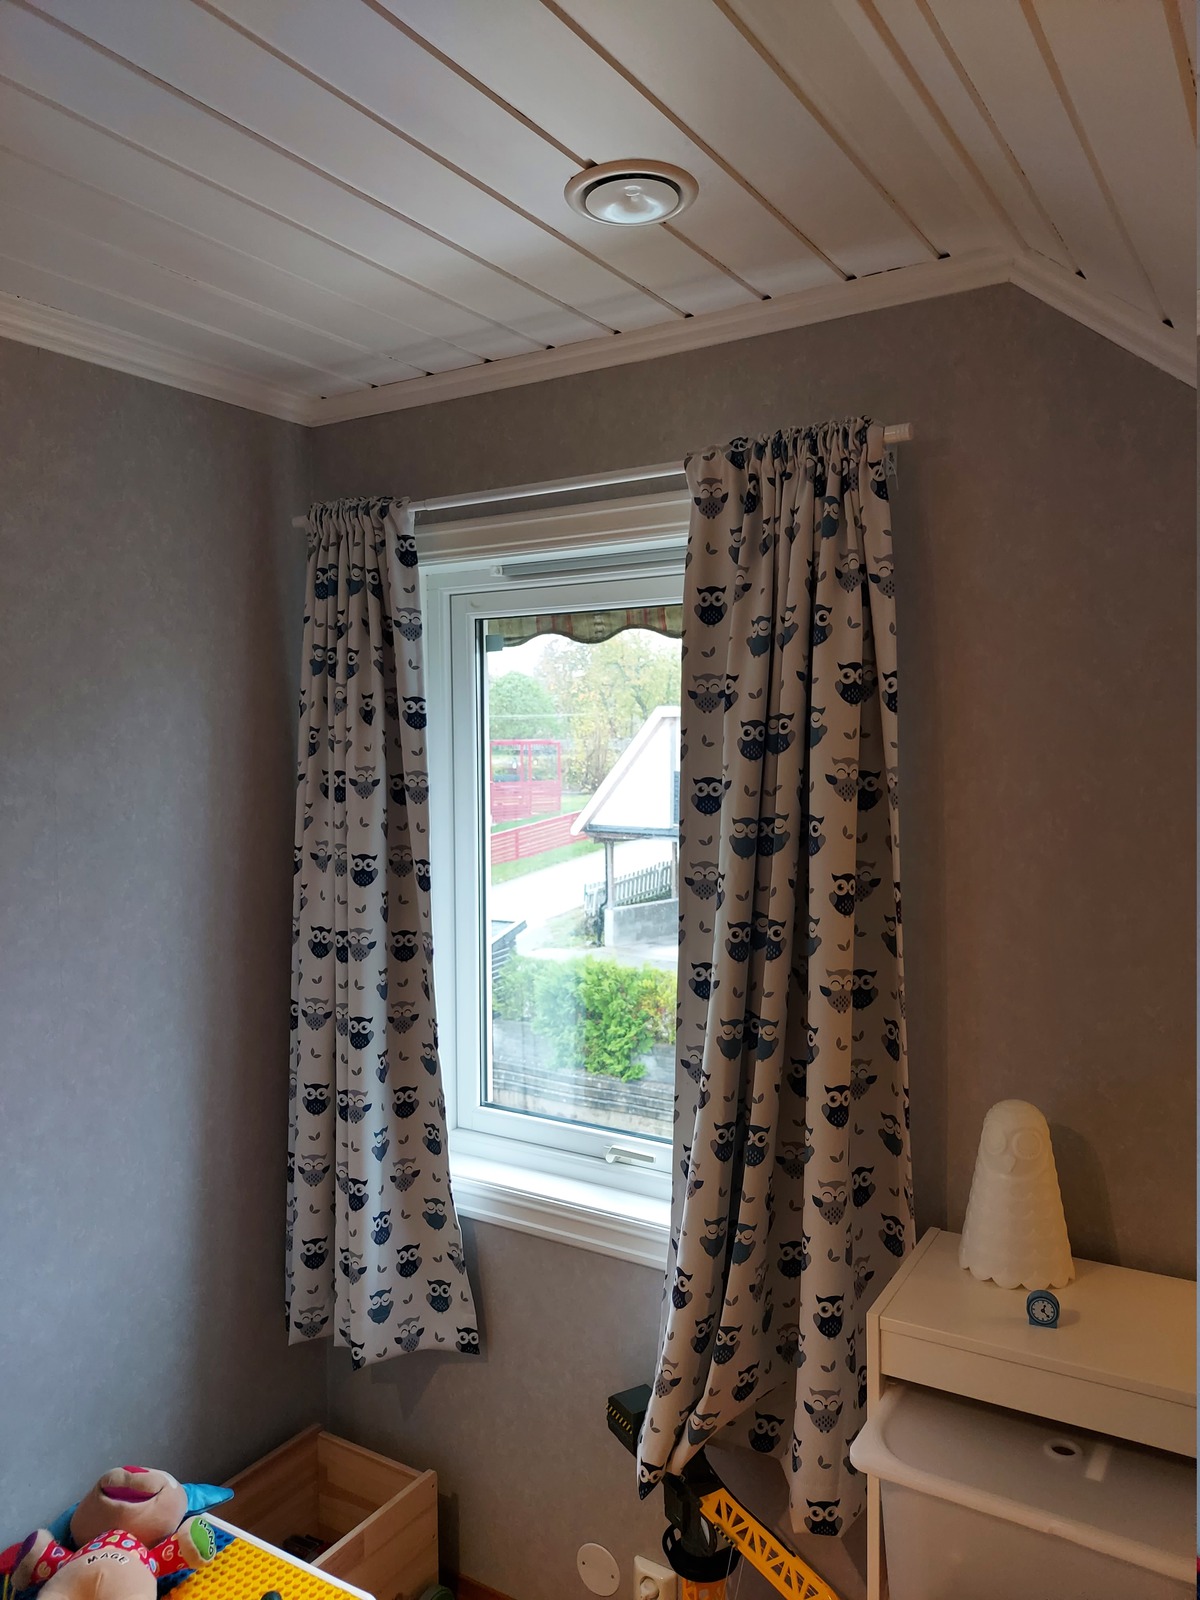
Vents in both kids’ rooms also installed.

Next; the main exhaust was cut, in the 2nd floor hallway. This will pull in air from the entire house.
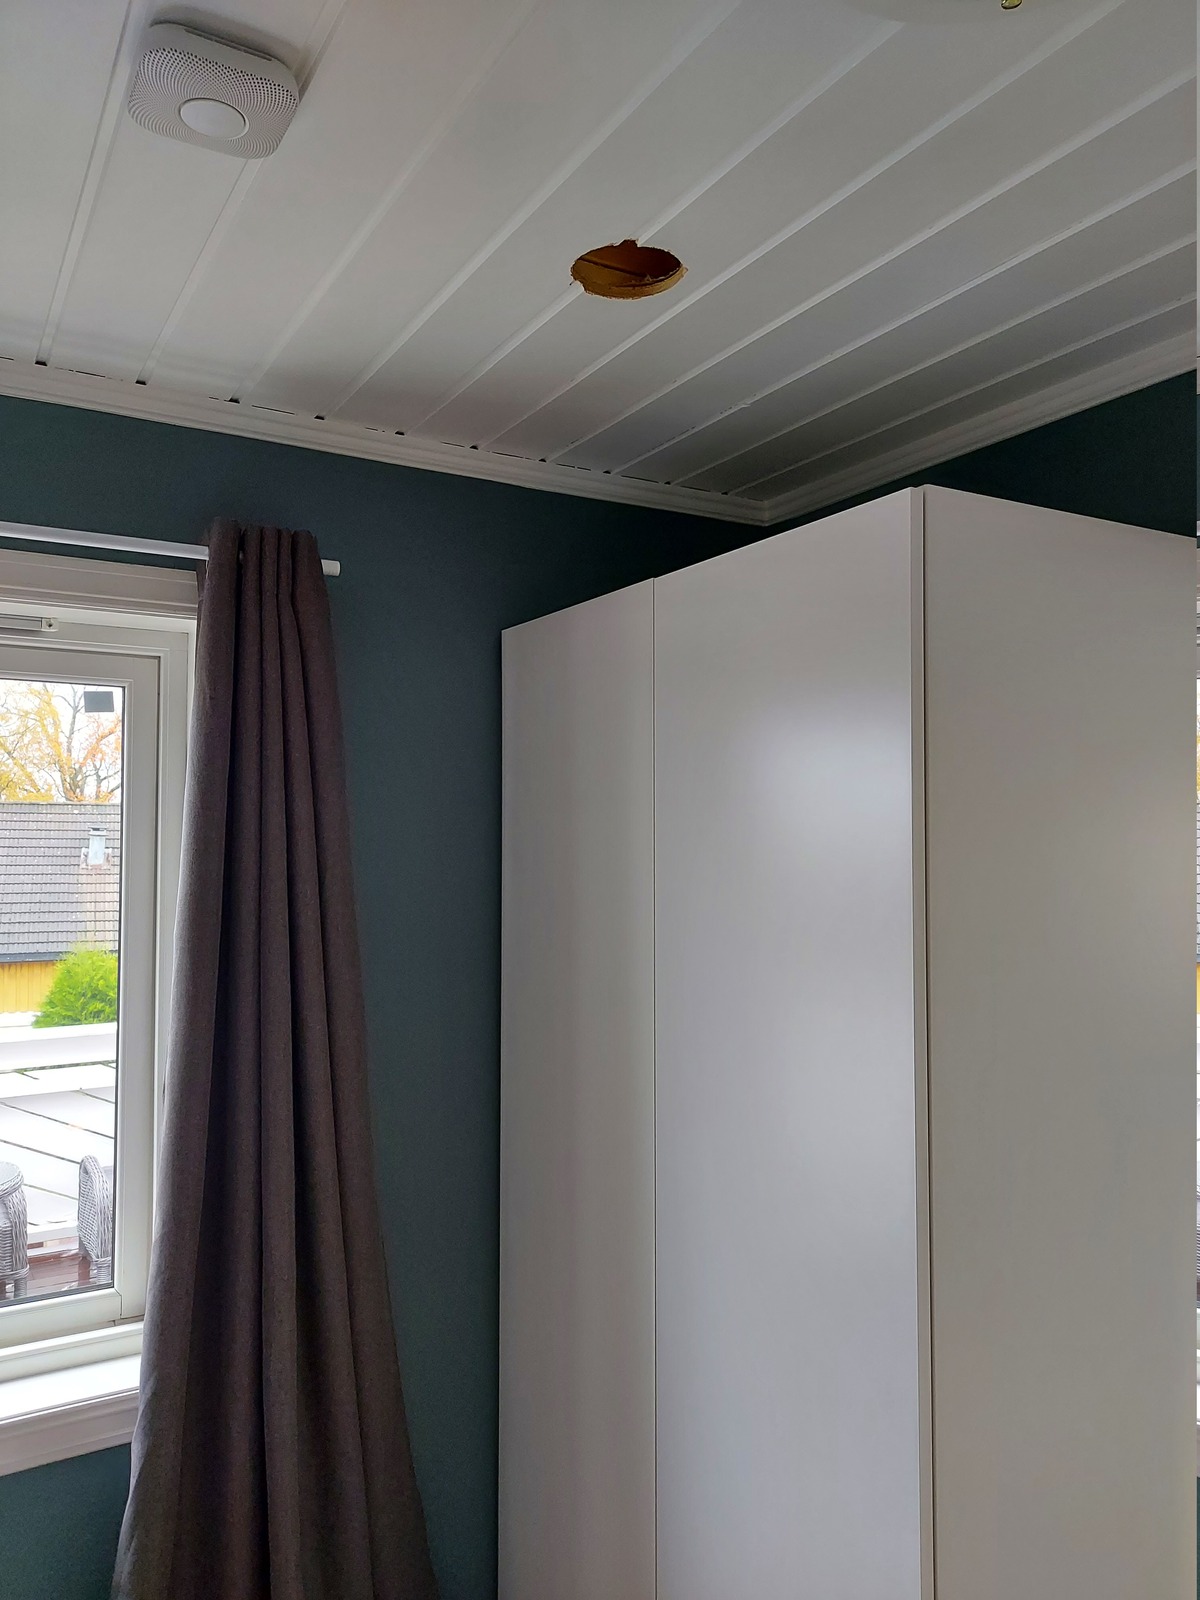
125 mm holes for supply air, in the 2nd floor den and master bedroom ceilings are cut next.
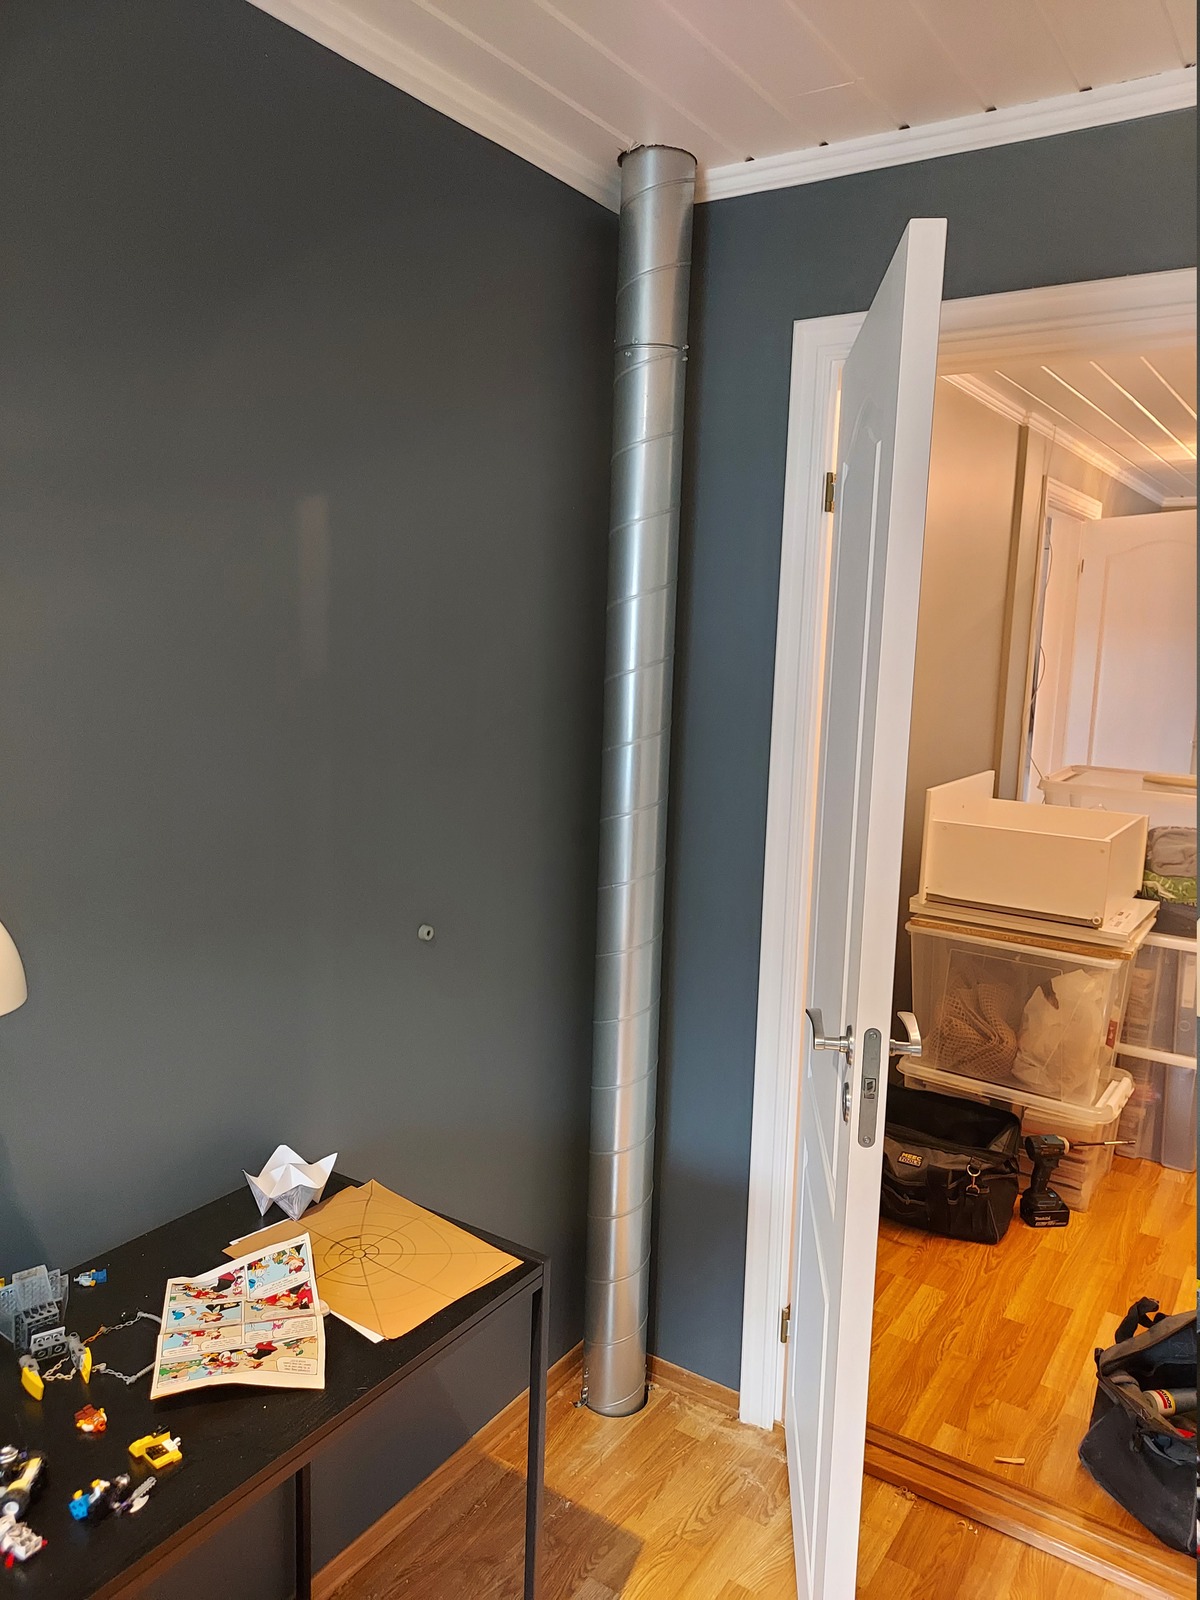
To get supply air to the 1st floor, we had to go though a kids’ room on the 2nd floor. It’s behind the door, and the door can still be opened all the way. We’ll get this boxed in — at some point 🙂
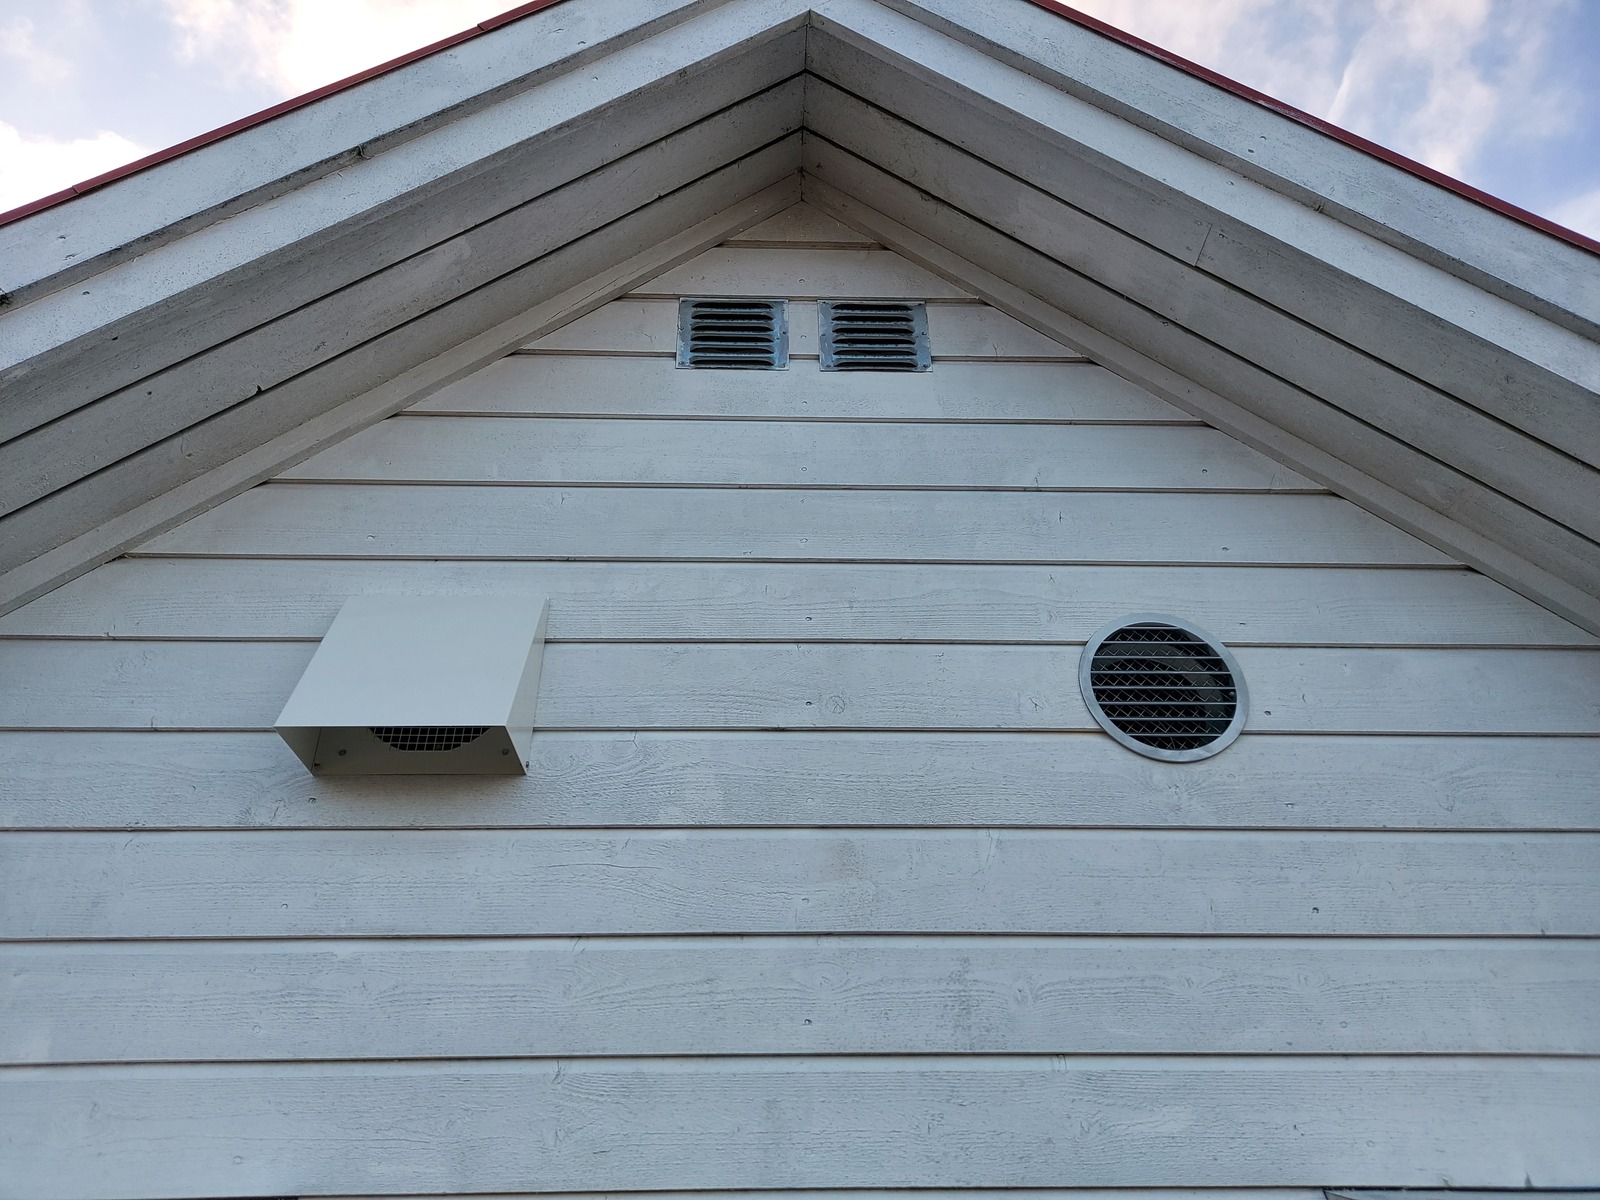
A cap and grid was installed on the exterior air exhaust and supply.

And that was day 1 of the installation 🙂
My wife and I spent the evening fishing the control cable to the ventilation user panel — from the attic, and out a 16 mm hole in the 2nd floor hallway wall.
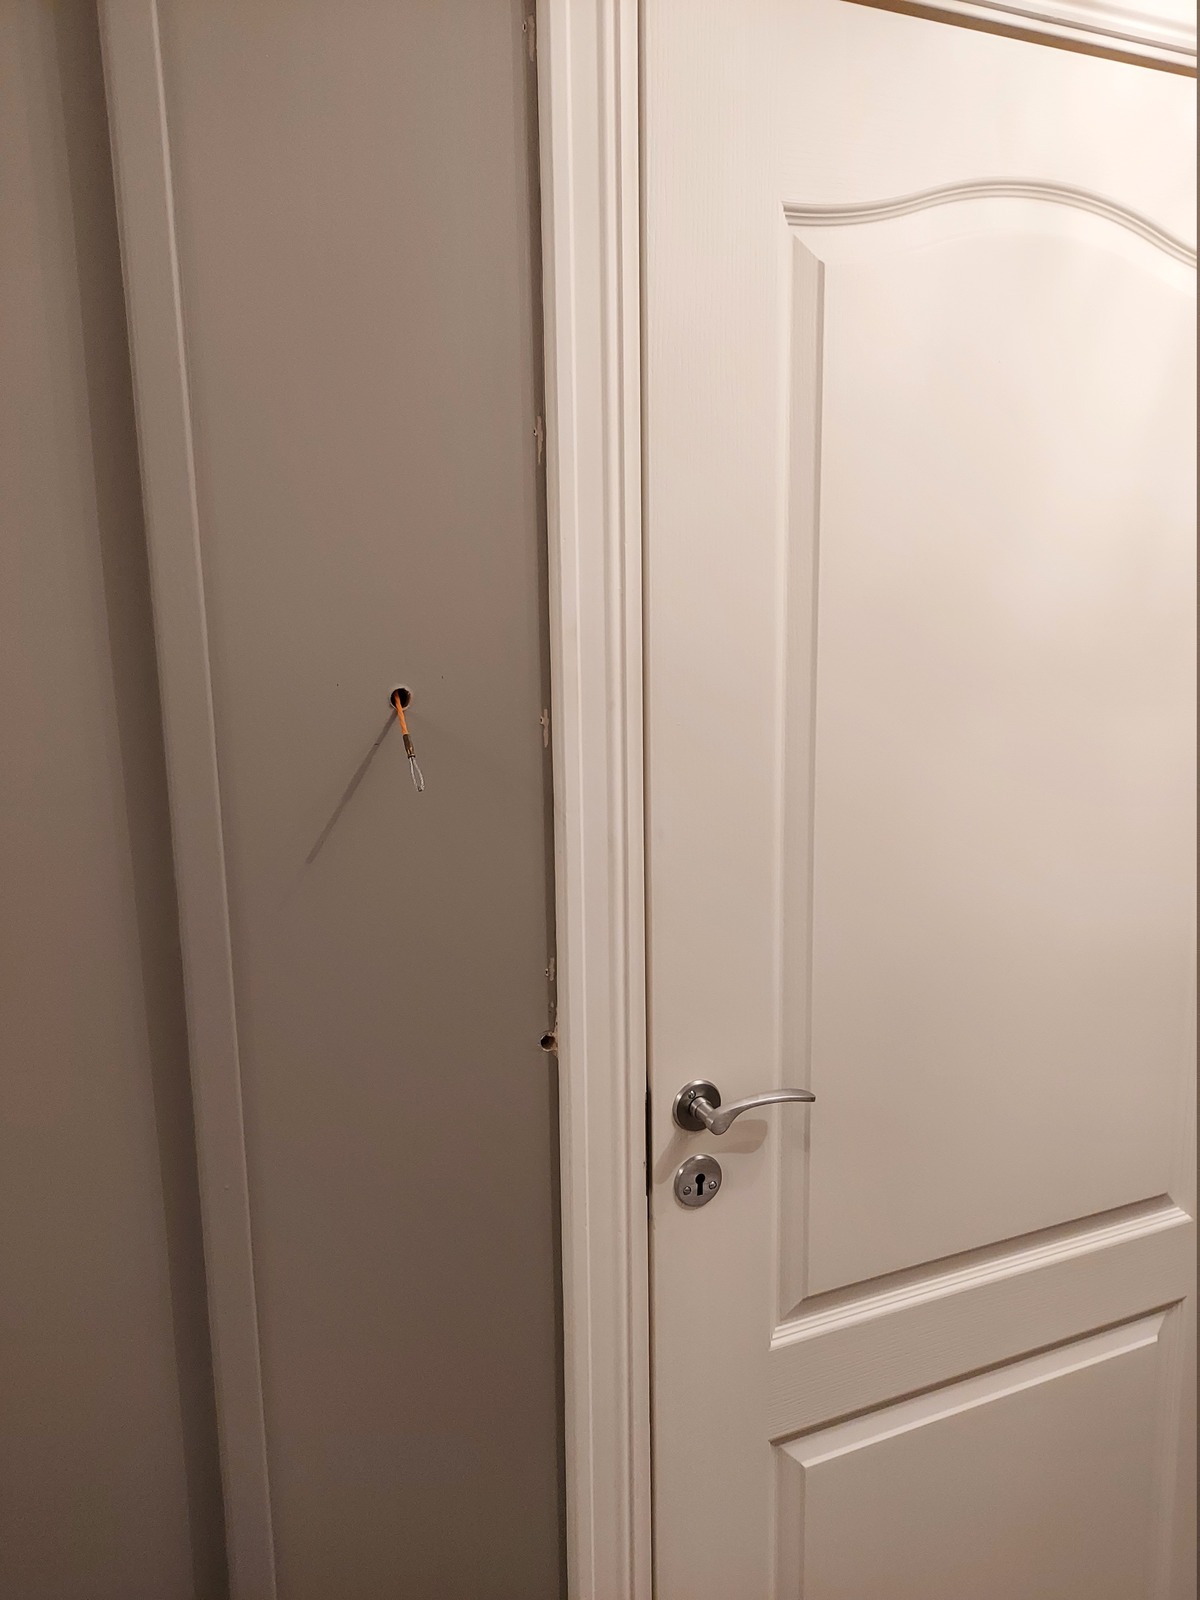
We were able to thread the fish tape from the attic, pull it out of the hole with a needle pliers, then attach a string and pull it back up. And lastly; attach the cable to the string and pull that back down 🙂
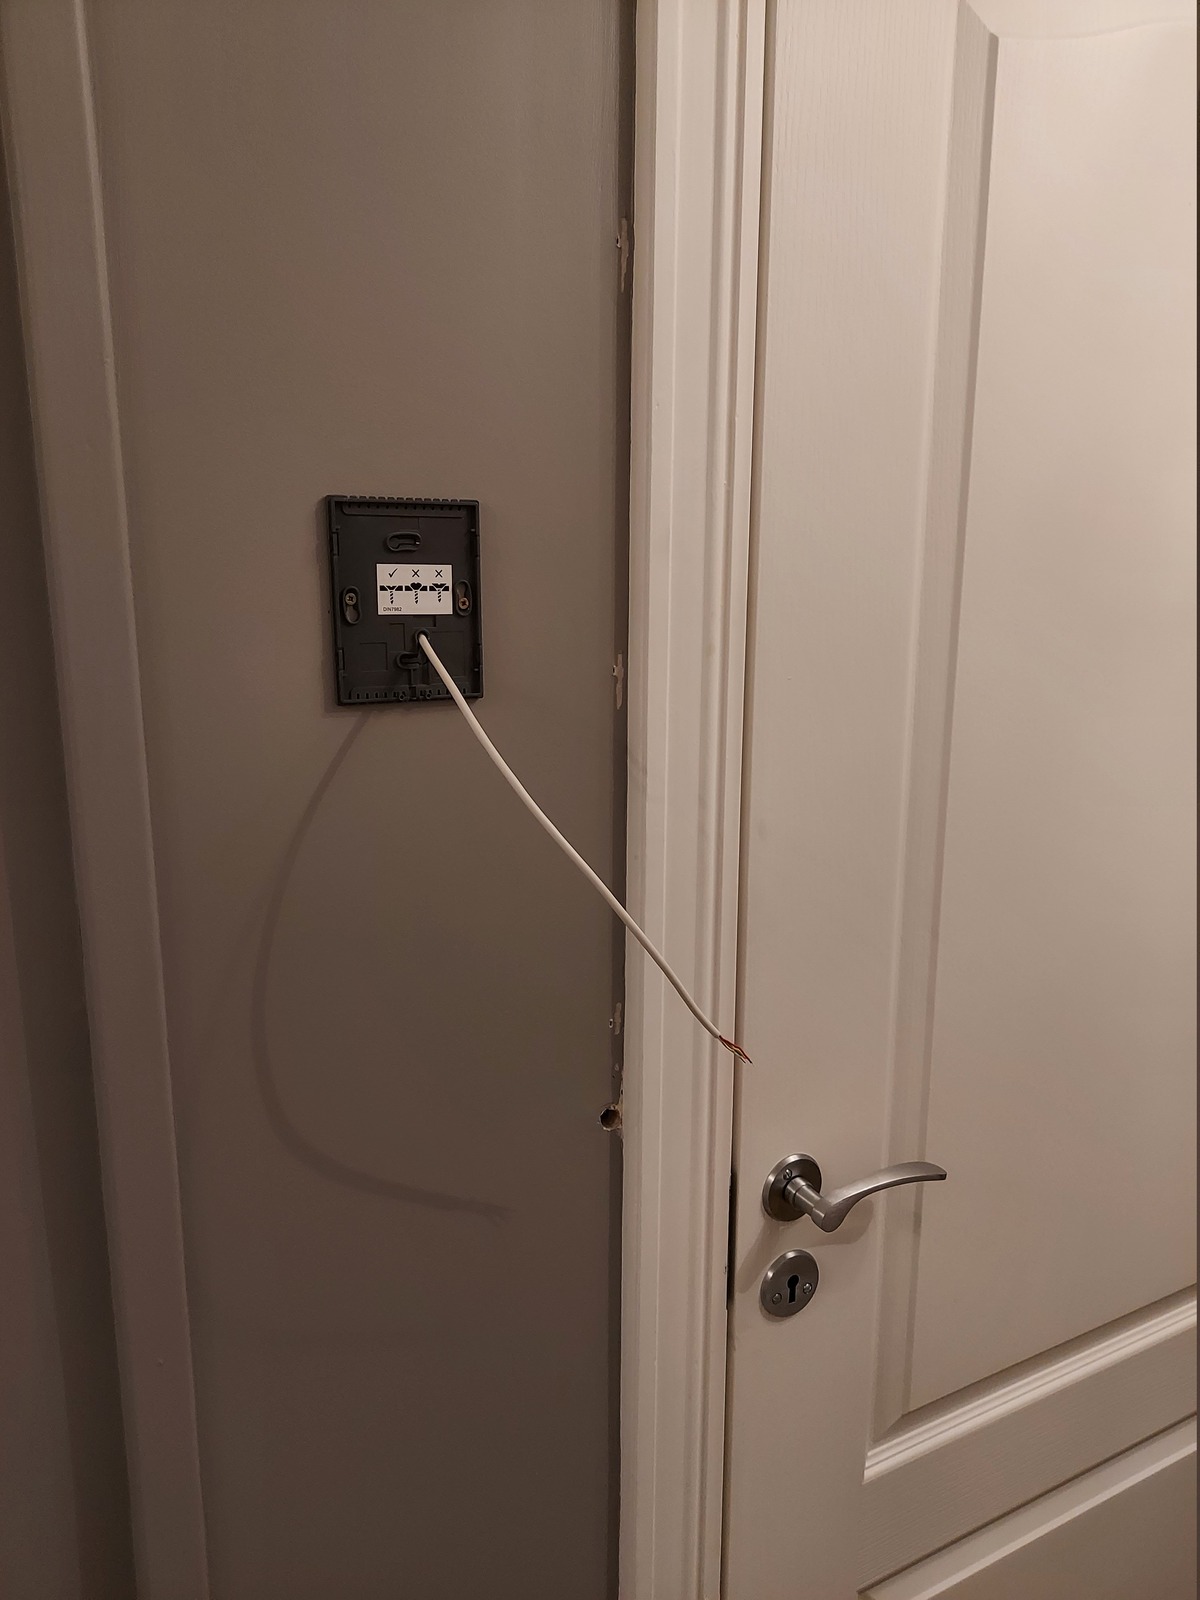
So much cleaner with no visible cables 👍
Day 2
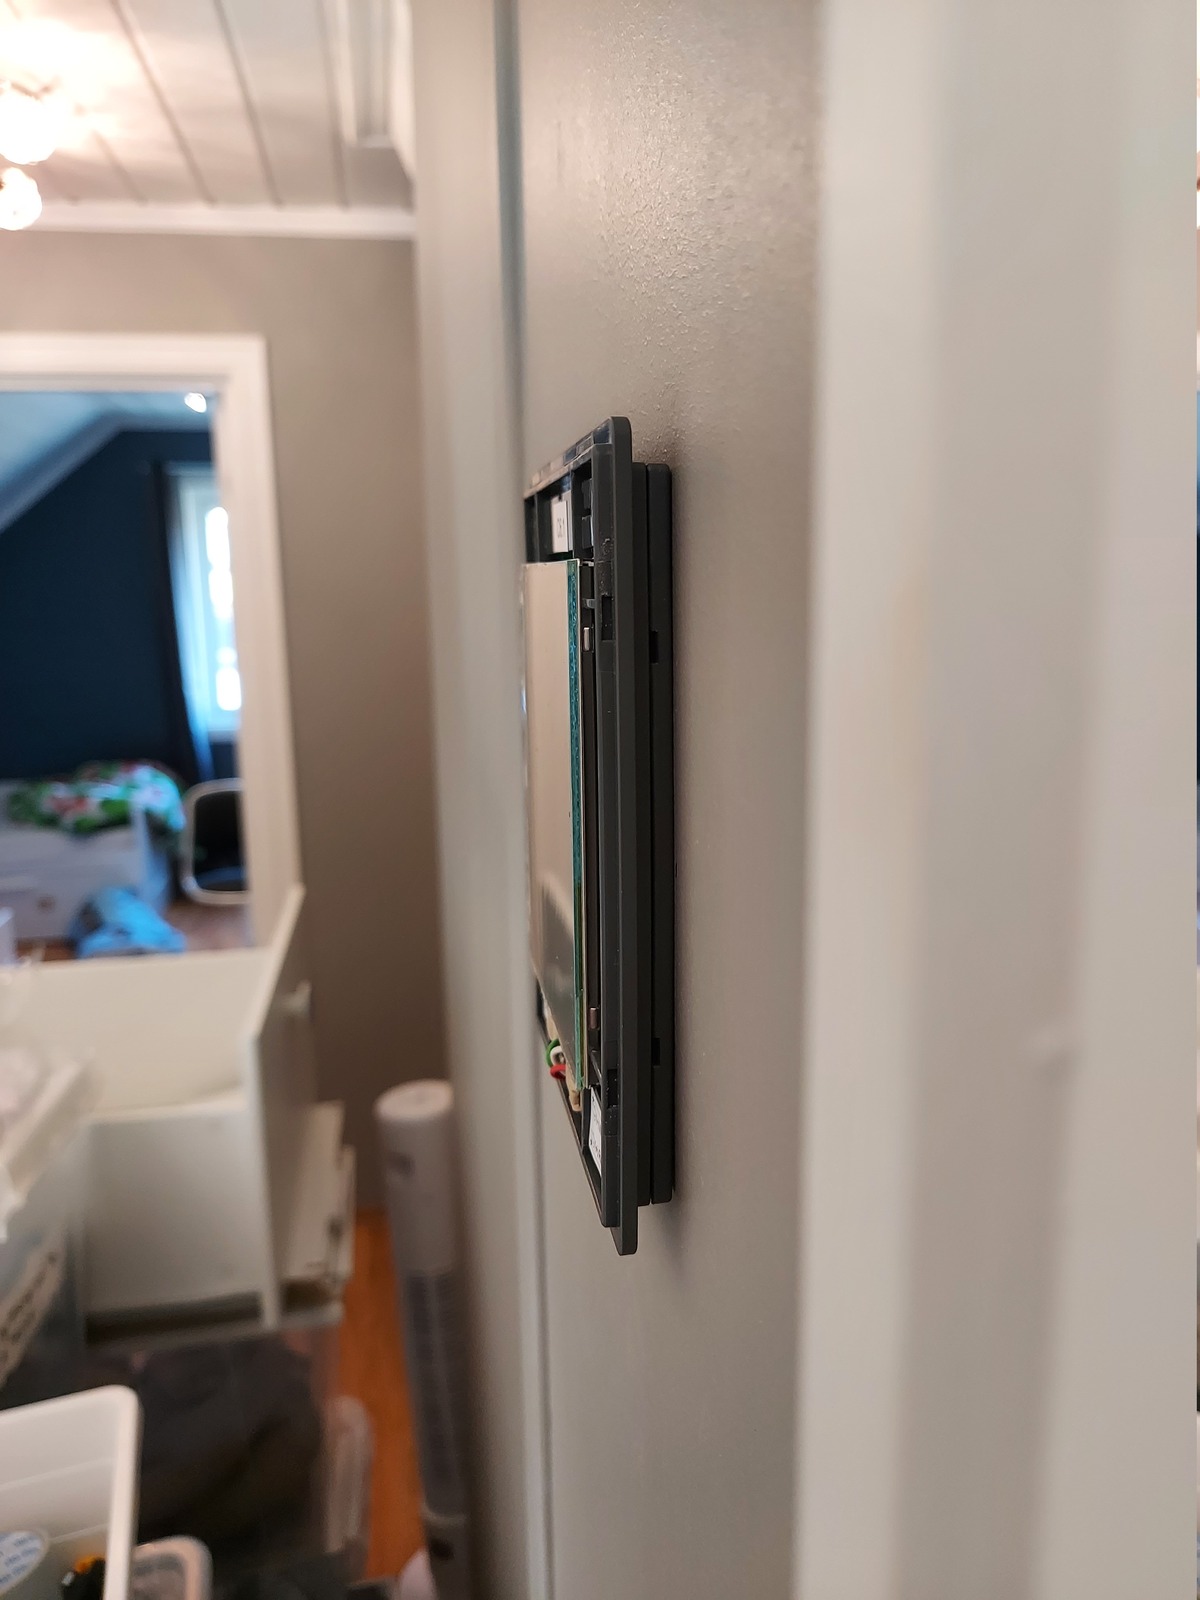
The C6.1 touch panel was installed in the 2nd floor hallway, next to the bathroom door. The panel is surprisingly slim, and looks really nice 🙂
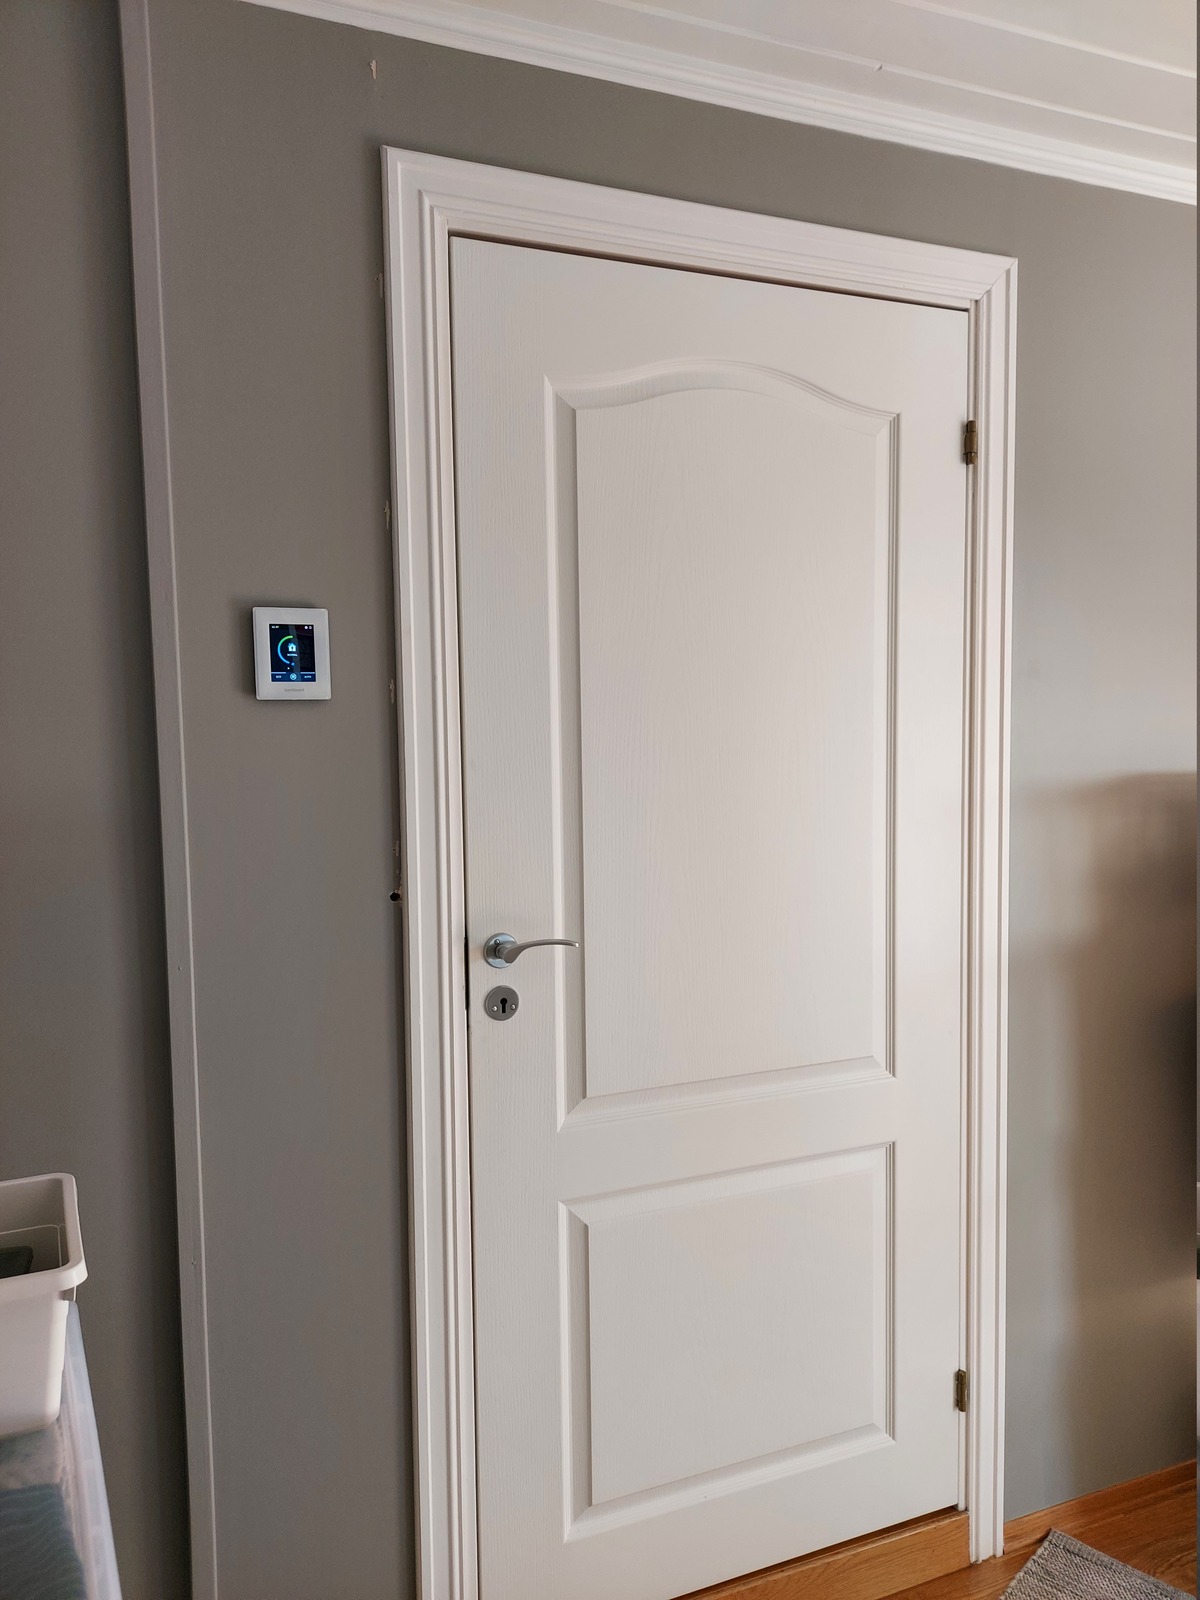
There are still some holes and markings on the wall from the bathroom fan cable that got removed. Need to fix that one day 🙂

I’ve configured the panel screen saver to show: time, supply air temperature, and outdoor temperature. Practical for choosing what kind of cloths the kids need that day 🙂
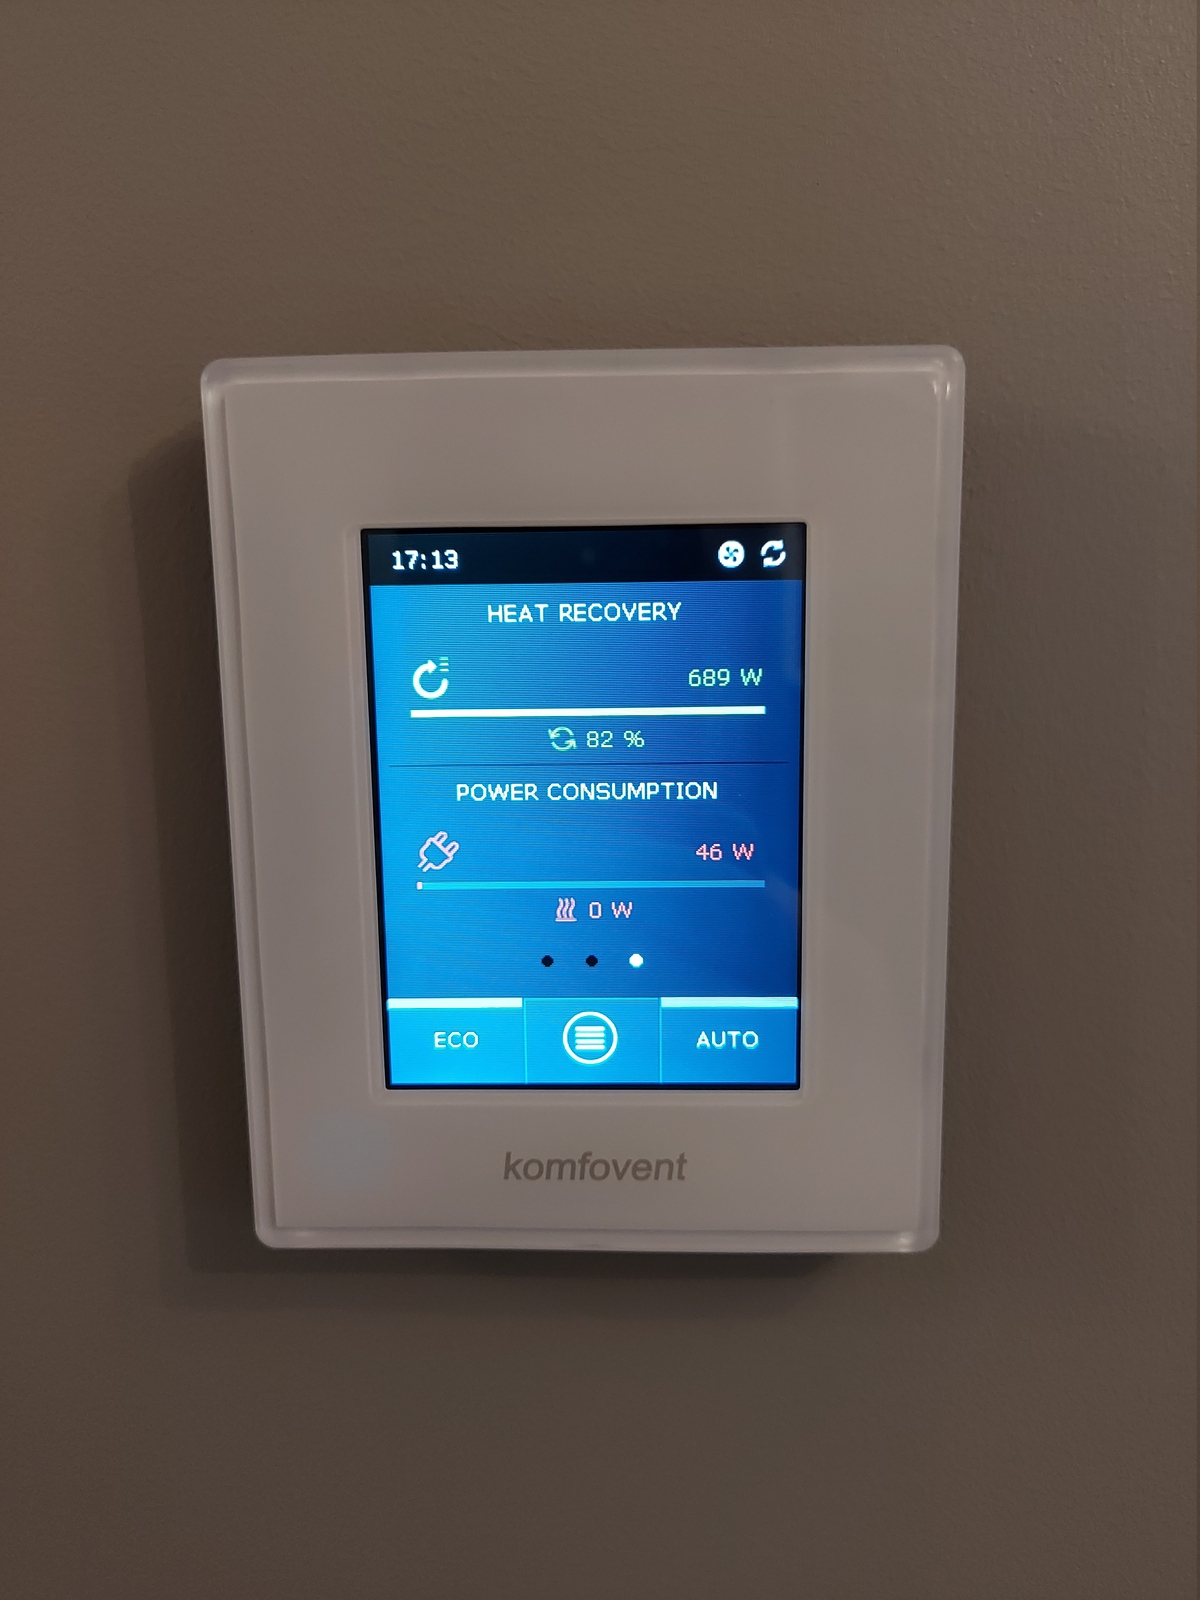
The ventilation system also have a detailed view of the heat recovery and power consumption. Perfect for a data geek like me!
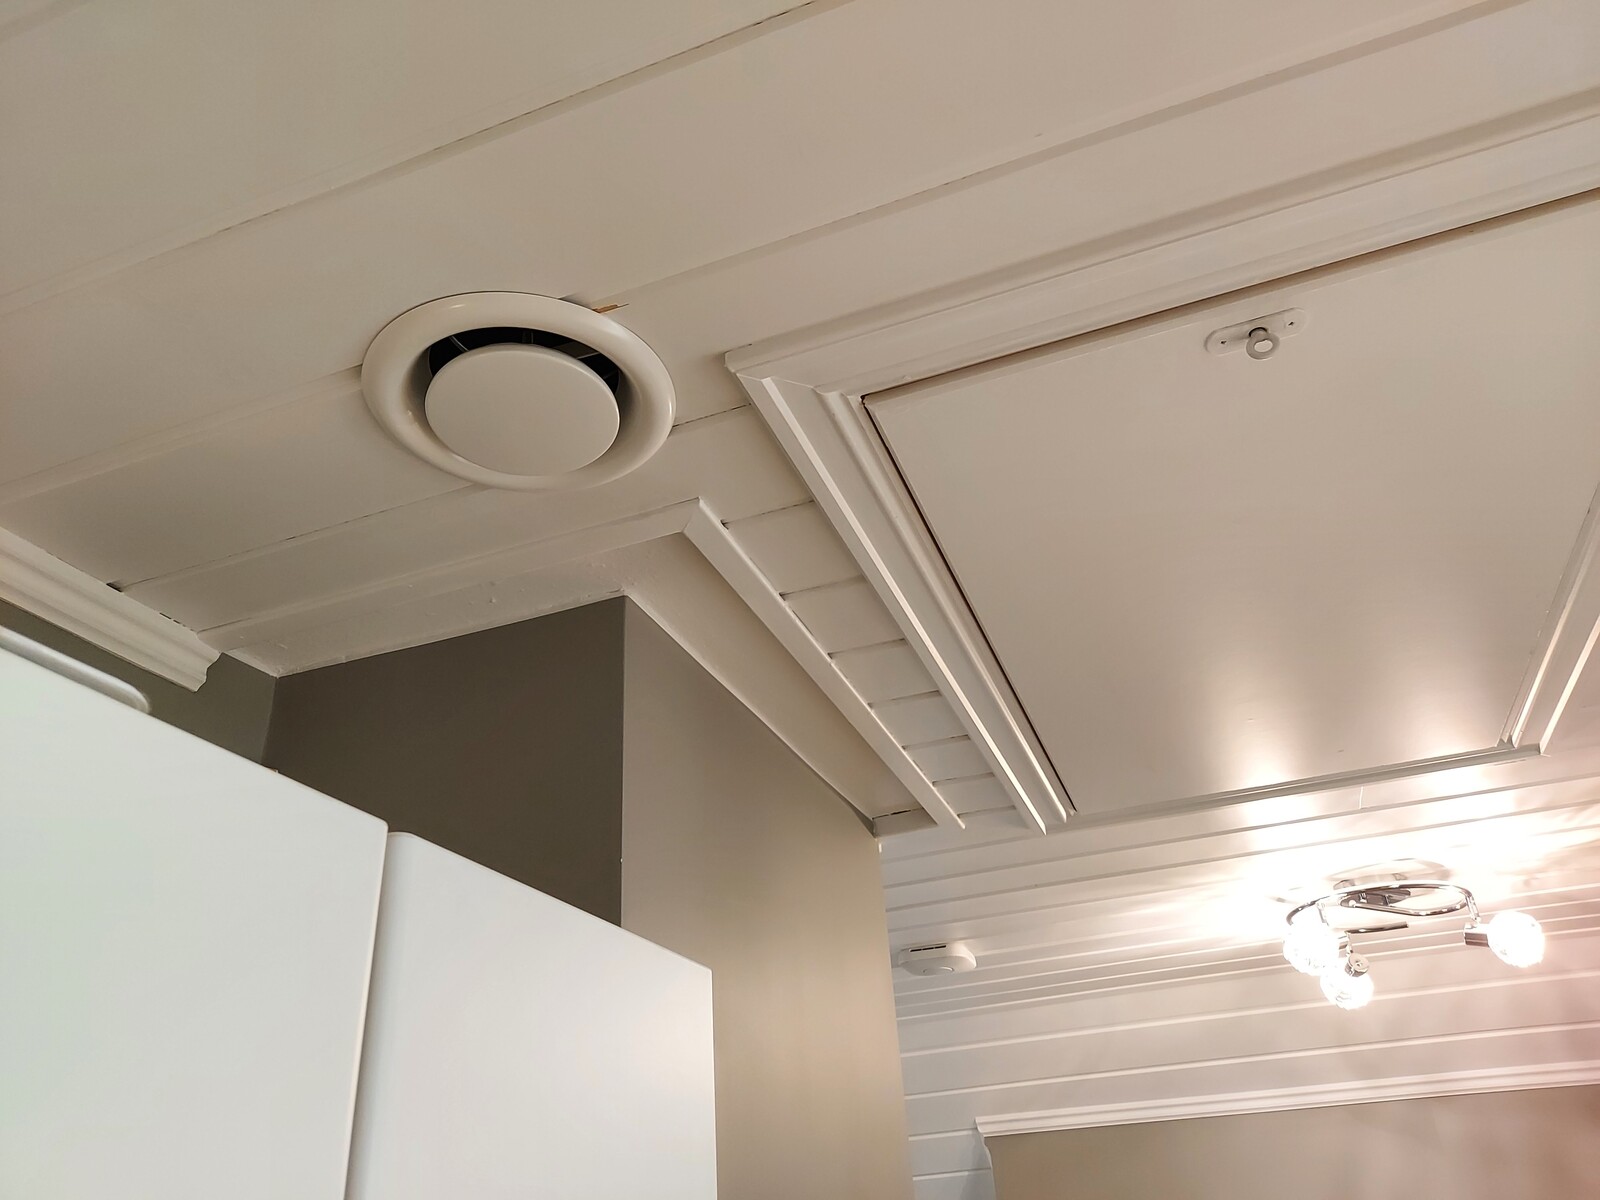
The 160 mm vent in the 2nd floor hallway ceiling is the main exhaust; pulling in air from the whole house.
Unfortunately the vent in the bathroom ceiling didn’t quite cover up the screw holes from the old fan, so I need to revisit and fix that later.

With all supply air vents on the 2nd floor located towards the exterior walls; they push air through the rooms — towards the main exhaust.


The last ducts where completed and connected to the ventilation unit. The system was powered up and all vents were tested and adjusted:
- Air supply
- Kids’ room 1: 45 m³/h
- Kids’ room 2: 39 m³/h
- 2nd floor den: 25 m³/h
- Master bedroom: 54 m³/h
- 1st floor living room: 48 m³/h
- Exhaust air
- 2nd floor hallway: 115 m³/h
- Bathroom: 55 m³/h
Results
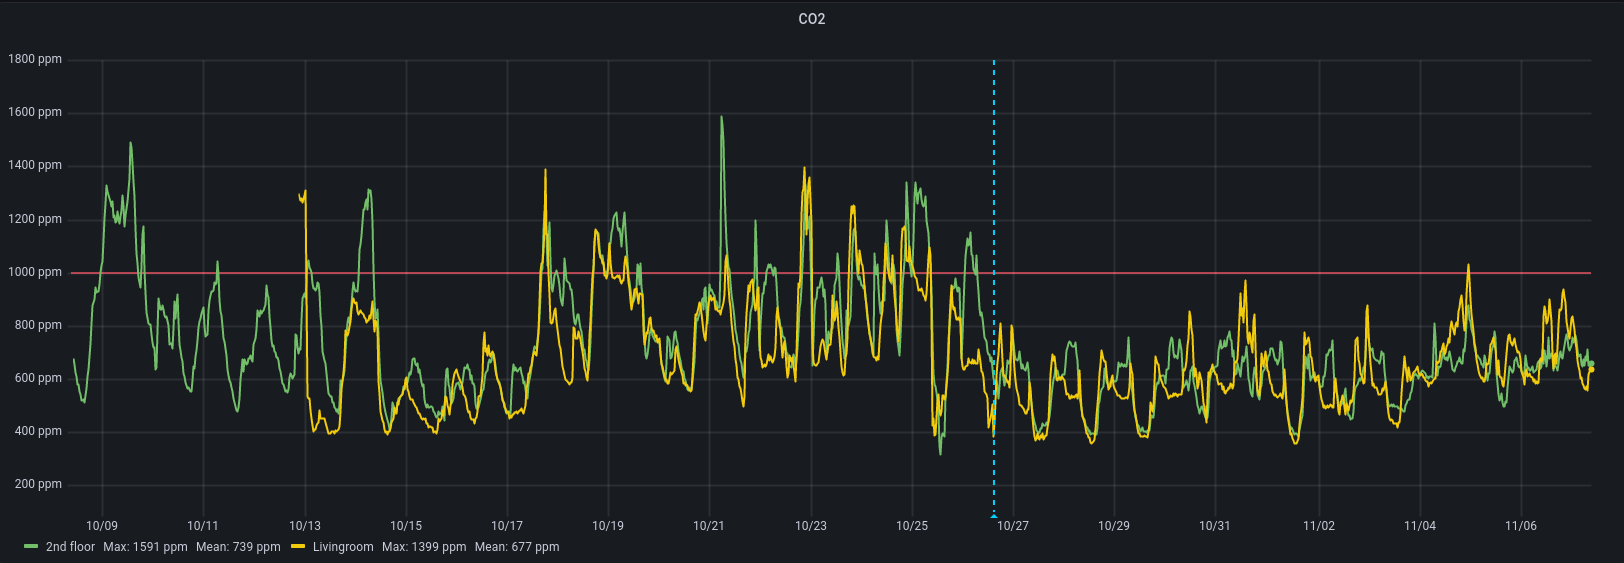
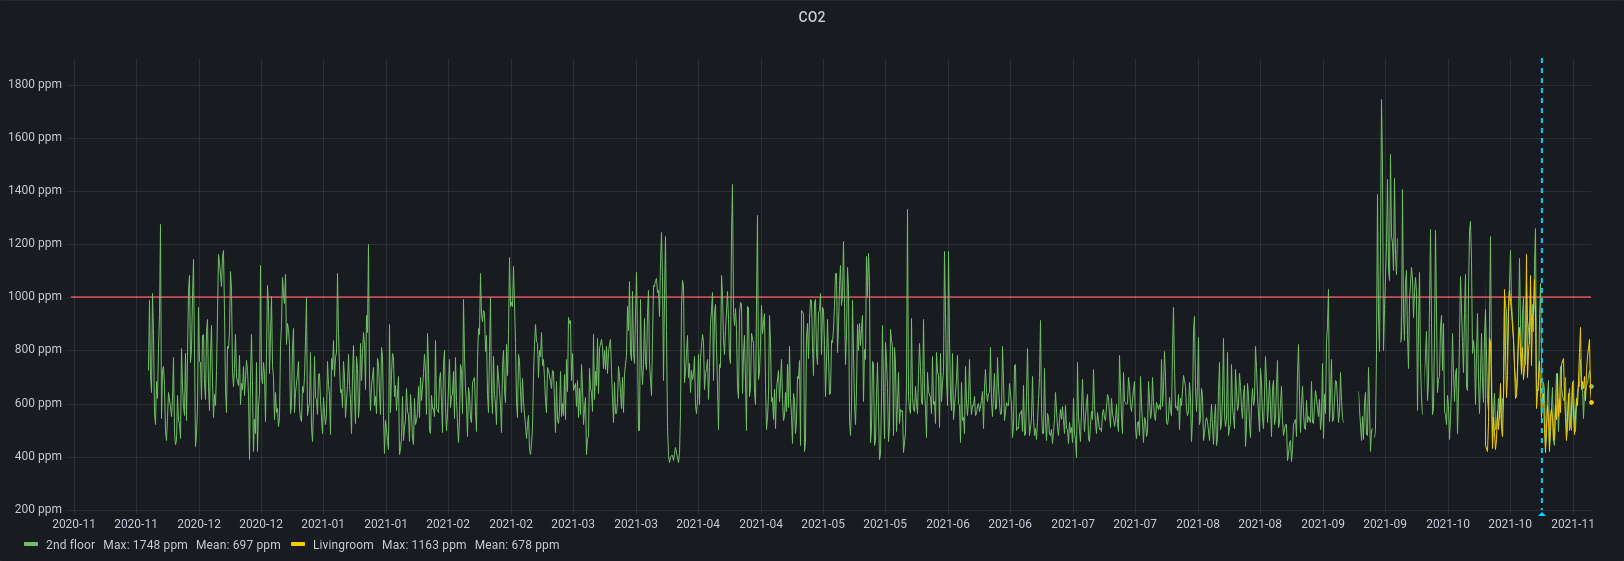
Looking at the CO₂ levels for the last 30 days, with the start of the ventilation marked with the blue dotted line, it’s quite clear that it has a big impact on the air quality on both floors.
We’ve had above 1000 ppm CO₂ level in the 1st floor living room on a few occasions; when the whole family is watching TV and burning candle lights. This could probably have been avoided by activating the Intensive mode.
Overall; we are very happy with the system. The air inside feels fresh, like having the windows open. No more stale air, and condensation on the windows in the morning 👍
And an added bonus was that we got rid of the noisy bathroom fan, which was quite audible from the master bedroom. This system is only slightly audible in the bathroom. Dead quiet in all other rooms 😃
Future plans
I have lots of ideas for interfacing the ventilation unit, it’s located right next to my attic network cabinet and supports Modbus TCP/IP. So I’m planning on adding it to Home Assistant.
That would allow me do do things like:
- Change mode to Cooking when the kitchen ventilator is running
- Change mode to Fireplace with a wireless Zigbee button in the living room
- Change mode to Intensive if high CO₂ levels are detected
- Change mode to Away when the house if empty
- Pull out data for use in Grafana or our Dakboard digital calendar
I also want to add a few more vents on the 1st floor, I’ll have to do some measurements to see what’s possible 🙂
Last commit 2024-04-05, with message: More tag clean up.